I’ve wanted to make my own yogurt for years. In my dairy-eating days I would eat it every day for the probiotics. The super thick Greek-style yogurt was my staple. And I miss that tangy goodness.
If you’ve tried any of the non-dairy yogurt options you know they are pathetic. Most often jello-y globs that plop out of the container. Eww. There are only two brands of coconut milk yogurt that I enjoy, Anita’s and CO YO. Both are fabulous, yet crazy expensive and hard to find in stores.
Option B: Make my own. I was inspired by Laura Miller’s recipe using fresh coconut milk. Check it out here. Her video is freakin’ hilarious. You MUST watch it. It involves a probiotics song to the beat of 702’s song “Where My Girls At.” Amazing.
Laura uses fresh coconut in her recipe, but I just don’t have time for that. So I made it with canned full-fat coconut milk. It worked perfectly! And is so easy you can make it anytime and always have some in the fridge.
A few things to note before you get started:
- Yogurt gets its sour flavor from the lactic acid in probiotics.
- Choose a probiotic that requires refrigeration. Probiotics are living and must remain at a certain temperature or they will die (which would defeat the whole purpose of probiotics).
- Make sure your probiotic falls into your allergen guidelines. Many probiotics are made from dairy strains and contain trace amounts of dairy.
- These are the probiotic brands I like and trust:
- Klaire Labs
- Jarrow Formulas
- Prescript-Assist
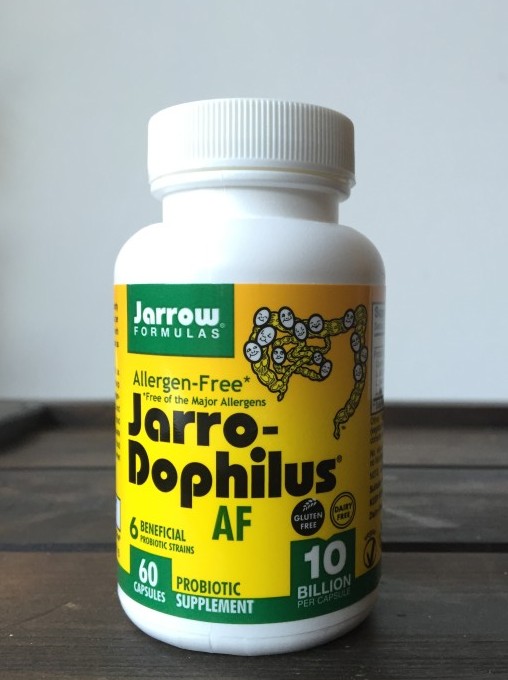
- I used Jarro-Dophilus Allergen-Free 10 billion per capsules – It is labeled gluten-free and dairy-free.
- These are the probiotic brands I like and trust:
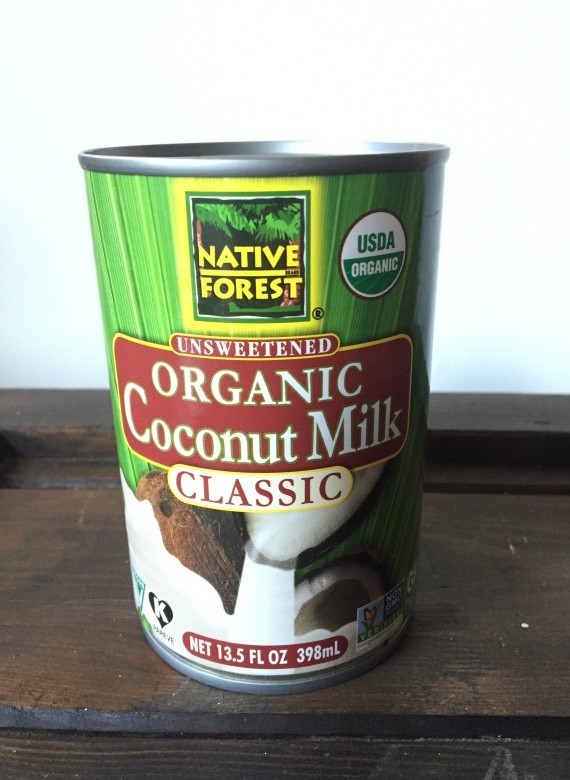
- Only canned full-fat coconut milk and coconut cream work for this recipe. The boxed coconut milks are too thin and will result in a watery consistency (more like a kefir).
- I recommend these:
Enjoy!
- 1 can full-fat coconut milk cream - I use Native Forest brand
- 2 capsules of probiotics - I use Jarrow Formulas’ Jarro-Dophilus Allergen-Free
- glass or ceramic bowl
- silicone spatula
- wooden spoon
- tea towel or paper towel
- large rubber band
- Make sure all your materials have been thoroughly washed with warm, soapy water. This prevents any bacteria from interfering with the probiotics.
- No metal can be used when making this recipe. Metal will counter the probiotics.
- Place the canned coconut milk in the fridge for 12 hours.
- Remove from the fridge, turn upside down and open the can from the bottom.
- Coconut water should be at the top of the can. Pour this out and save for another recipe. Then you are left with the thick, creamy coconut on the bottom.
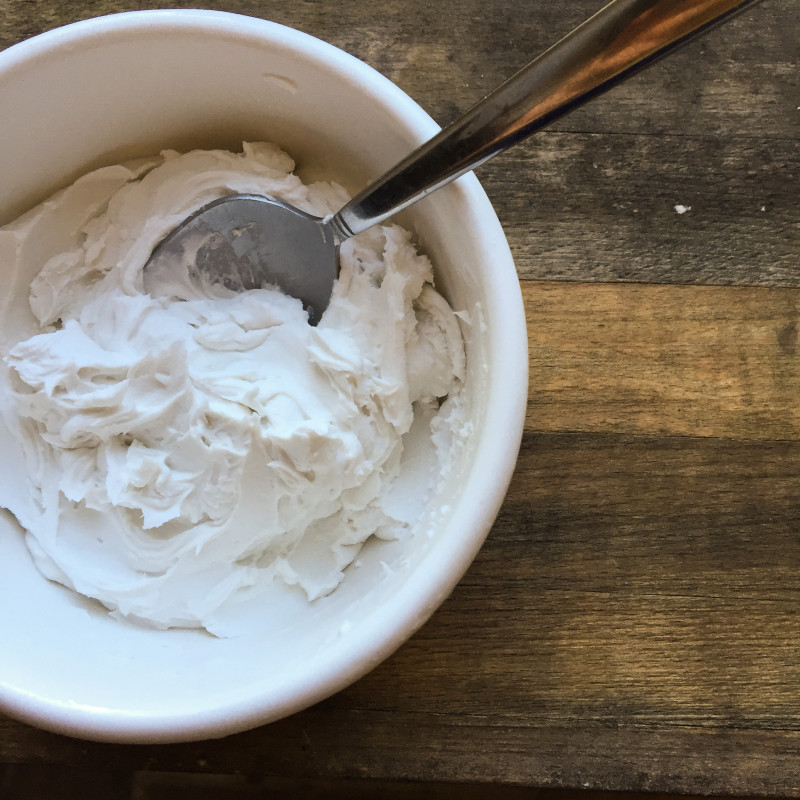
- Scoop out the coconut cream with a spatula and put into your bowl. Heat the cream for 45 seconds in the microwave. Probiotics like a warm environment and the heat will get them going.
- Open the probiotic capsules and sprinkle over the cream. Mix together with the wooden spoon.
- Cover bowl with the towel and secure with the rubber band. You want the yogurt to be able to breath so make sure to use a breathable covering.
- Then place the bowl in a warm, dark place for 48 hours.
- After 24 to 48 hours the probiotics will have worked their way into the coconut and you’ll have tangy yogurt.
- Store in the refrigerator.