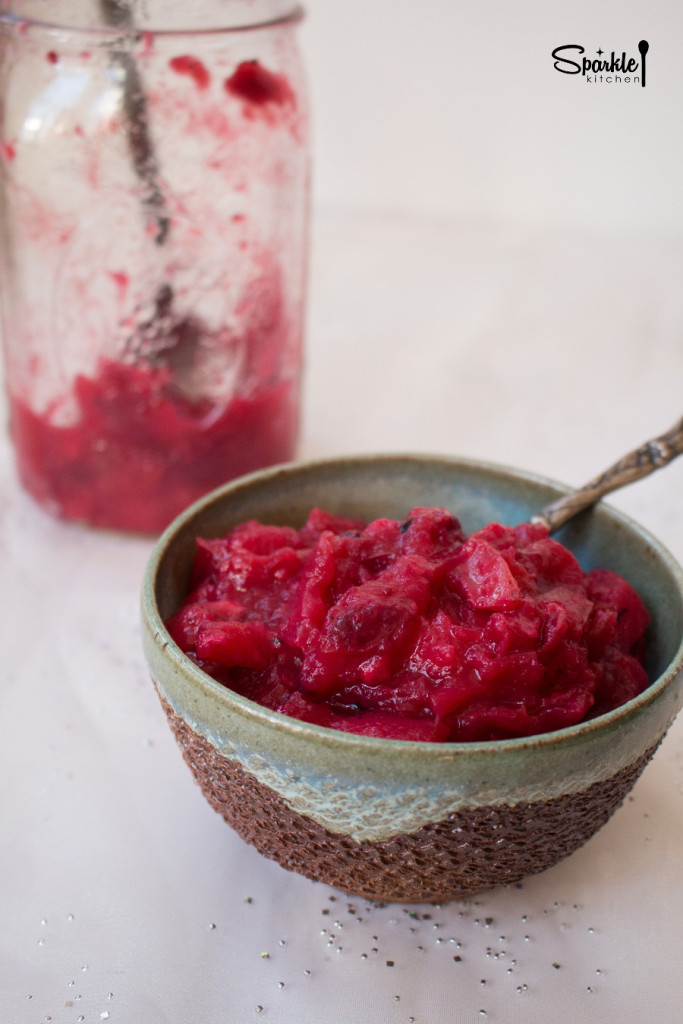
Cranberry Applesauce with Fresh Ginger

Grocery shopping is a communal experience at my local food coop. The place is notorious for lines that wrap around the store, mad rushes to get the last heirloom tomato and also new friendships.

Recently as I’m perusing the apple selection, an elderly women asks for my assistance. “Would you help this old shorty and reach that bag for me?” Of course.

I grab what she needs and then she says, “Enjoy your youth. I used to look like Vivian Lee but now I’m just gone with the wind.”

Ha! What a character. I have to befriend this women. We chat for a few moments and I admire her storytelling skills, colorful word choice and newly permed hair. She imparts wisdom on me right there in the grocery store.

And then she’s off towards the cheese section and I’m back to apples. 

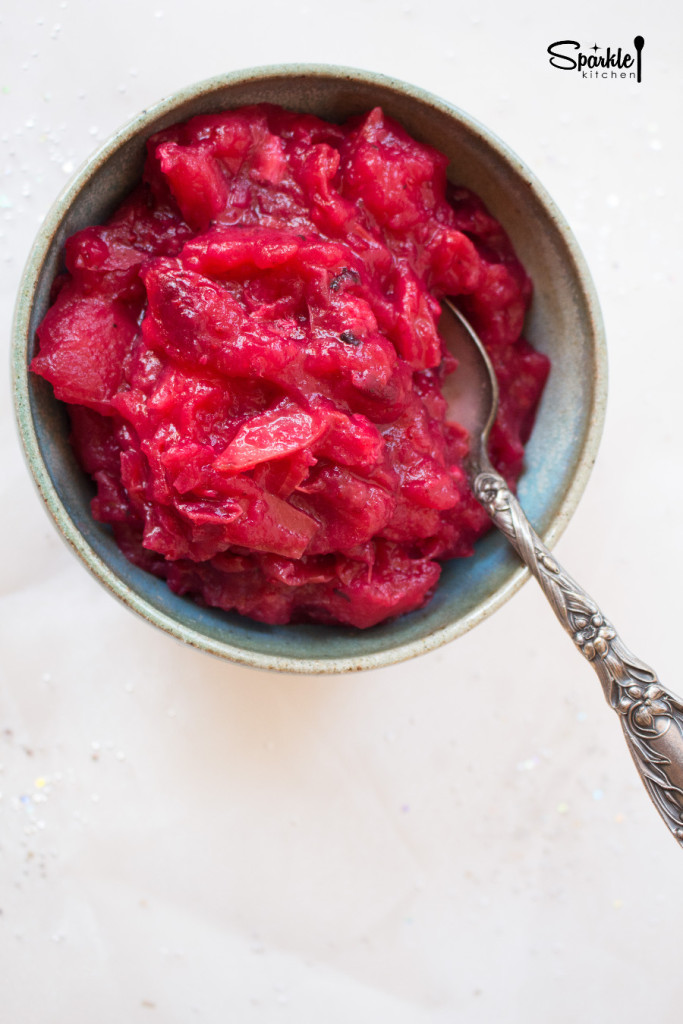
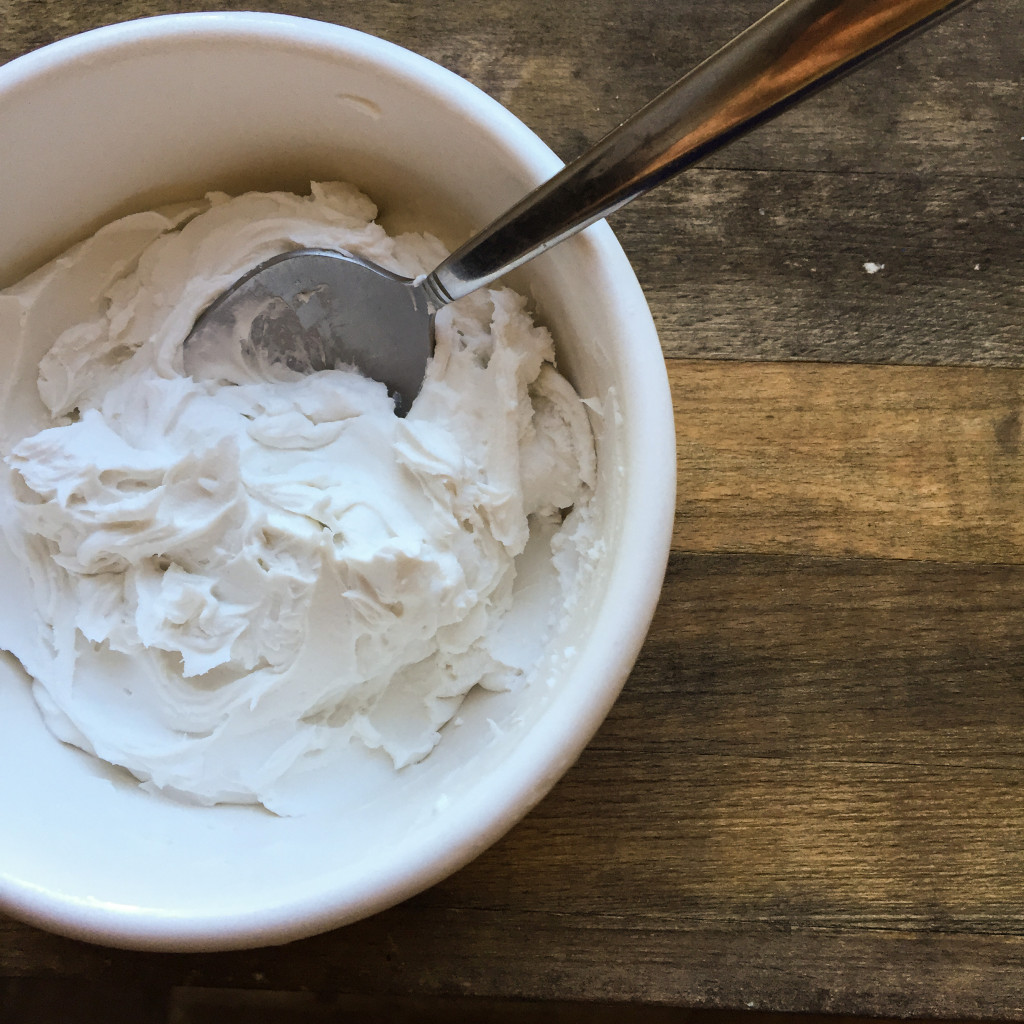
This applesauce is blended with fresh cranberries and ginger for a nutritional boost. I like combining apples with other fruits and vegetables to lower the sugar content. One Pink Lady apple has about 14 grams compared to just two grams in a half cup of cranberries.

I’m doing my best to break-up with sugar and this recipe is a good alternative to any added sugar dessert I would otherwise eat.  To reduce the sugar affects even more, add some fat to it like coconut whipped cream. The fat slows the sugar’s metabolism.

Enjoy! 

Cranberry Applesauce with Fresh Ginger 

Cranberry Applesauce with Fresh Ginger
Serves 4
Homemade applesauce blended with fresh cranberries and ginger for a nutritional boost.
Write a review
Print
Prep Time
5 min
Cook Time
10 min
Total Time
15 min
Prep Time
5 min
Cook Time
10 min
Total Time
15 min
Ingredients
  1. 8 oz fresh cranberries
  2. 2 ½ cups pink lady apples - chopped
  3. ¾ cup water
  4. 1 cinnamon stick
  5. ½ tbsp fresh ginger - grated
Instructions
  1. Place all ingredients in a medium-sized pot. Heat over medium-high heat uncovered for 10 minutes.
  2. The cranberries will pop as it cooks. Once all have popped, turn off the heat and remove the cinnamon stick.
  3. Use a potato masher to mash the apples and cranberries together.
  4. Store refrigerated in a glass jar for up to 1 week.
Sparkle Kitchen https://sparklekitchen.com/
Cranberry Applesauce with Fresh Ginger

Roasted Cauliflower Gratin – Dairy-Free/Paleo/Vegan

The November recipe for the Local Eats Project is here! I really thought there would be less variety to work with this month but I sure was wrong. The Northeast is still showing gorgeous colors at the farmers market. The unseasonably warm weather is helping things out too. For a sinful vegan follower like me, living a healthier life is a must that made my life easier and fun to get that healthy lifestyle and inner happiness. 

If you’re new to the Local Eats Project you can find all the rules to play along here.  But basically, once per month I’m making one meal made entirely from local foods.

With this project I always want to challenge myself to cook something I’ve never tried before. One, to stretch my creativity and two, to eat a larger variety of foods to support my microbiome. My digestive health improves and my brain stays stimulated as well. 

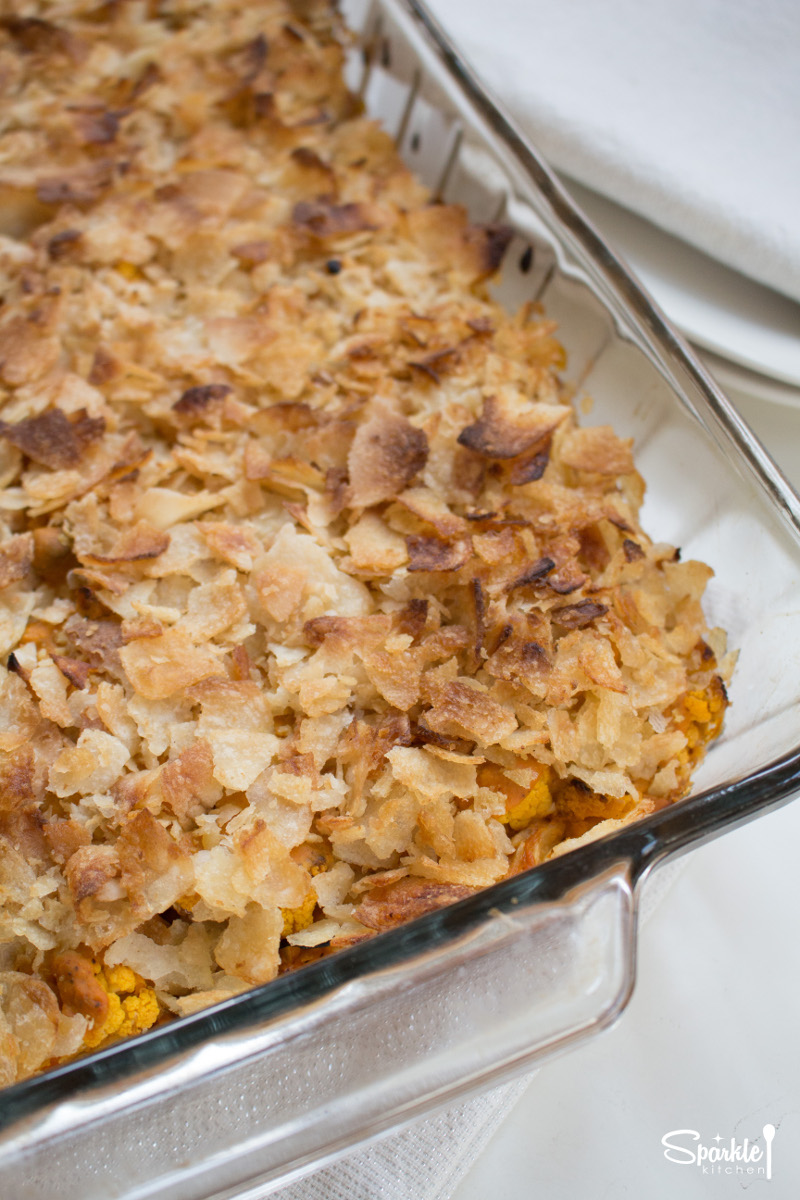
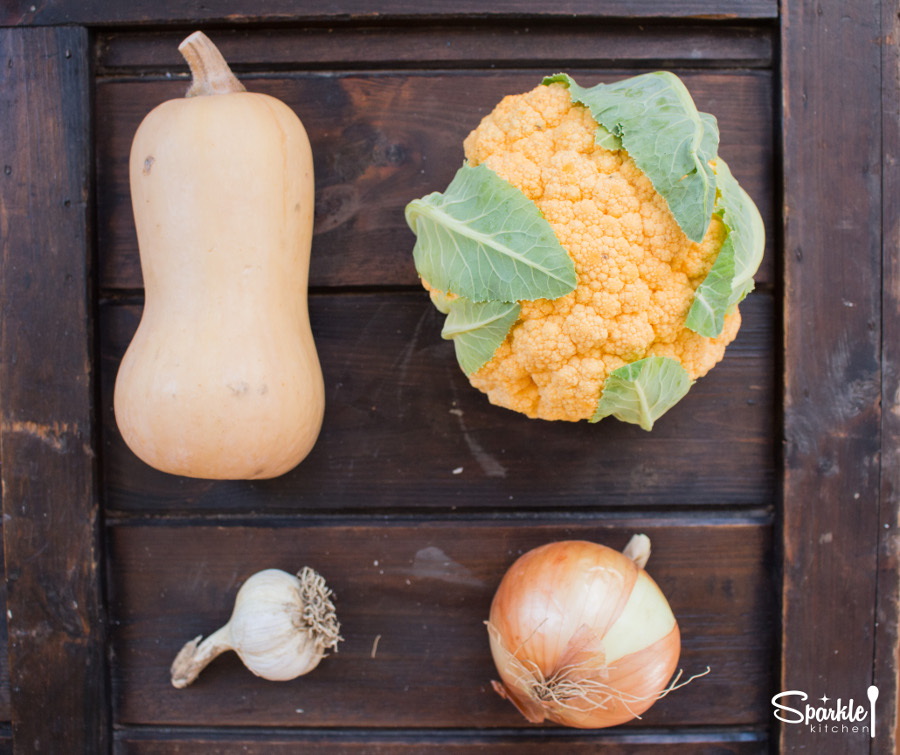
As I browsed the market, the oddly colored cauliflowers, orange and purple, sprung an idea: a cauliflower gratin to call back my Southern roots. I knew there was a way to make dairy-free cheese with butternut squash but I had not attempted it yet. No better time than now! I got to work and whipped up a casserole to make my mamma proud. To find other vegan and vegetarian ideas you can visit https://www.plantalternative.com/.

So what makes the cauliflower so colorful? Well it’s actually naturally occurring. The orange variety has more beta-carotene and the purple has the antioxidant anthocyanin, which is also found in red cabbage.

Here are the farmer market ingredients I took home:
2 heads cauliflower        $10.00    ($3.50 per lb)
2 butternut squash        $05.25    ($2.50 per lb)
1 medium onion             $02.15    ($3 per lb)
1 bulb garlic                    $00.10    ($10 per lb)

TOTAL $17.50 (to serve 6 people)

Everything else I purchased at my local food co-op.

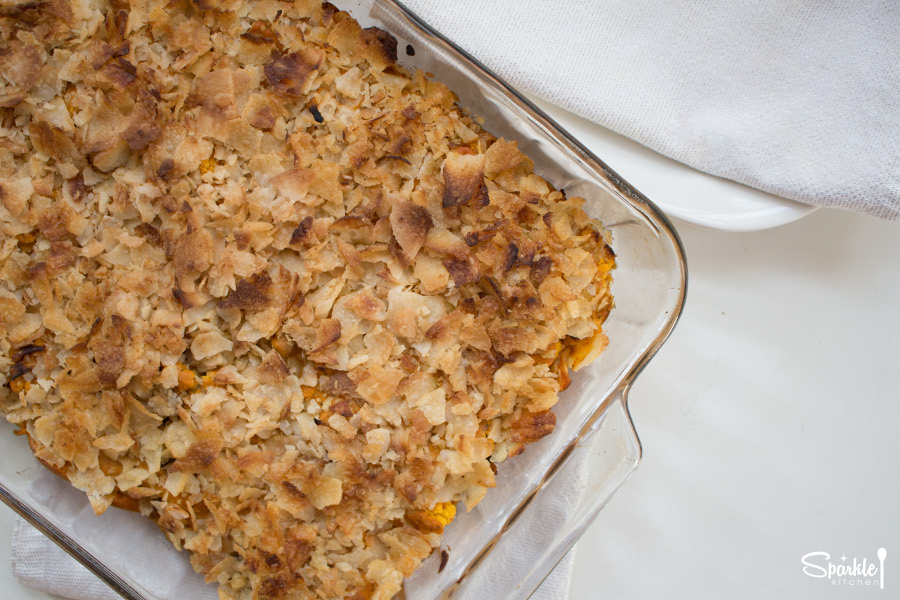
Jacksons Honest Chips are used to make the crunchy topping. I choose these over other chips because they’re made with coconut oil. Most other chip brands use canola or safflower oil I’m not crazy about. You can most easily find them at Whole Foods.

I’d love to see your Local Eats Project recipes! Post the recipe, photos and cost of your meal on your website or any social media site and share the love of local food. #localeatsproject

Enjoy!


RESOURCES:

The Story Behind Orange Cauliflower
http://www.saveur.com/article/Kitchen/The-Story-Behind-Orange-Cauliflower

What’s the Deal with Purple and Orange Cauliflower?
http://www.thekitchn.com/look-purple-and-orange-cauliflower-ingredient-intelligence-33348
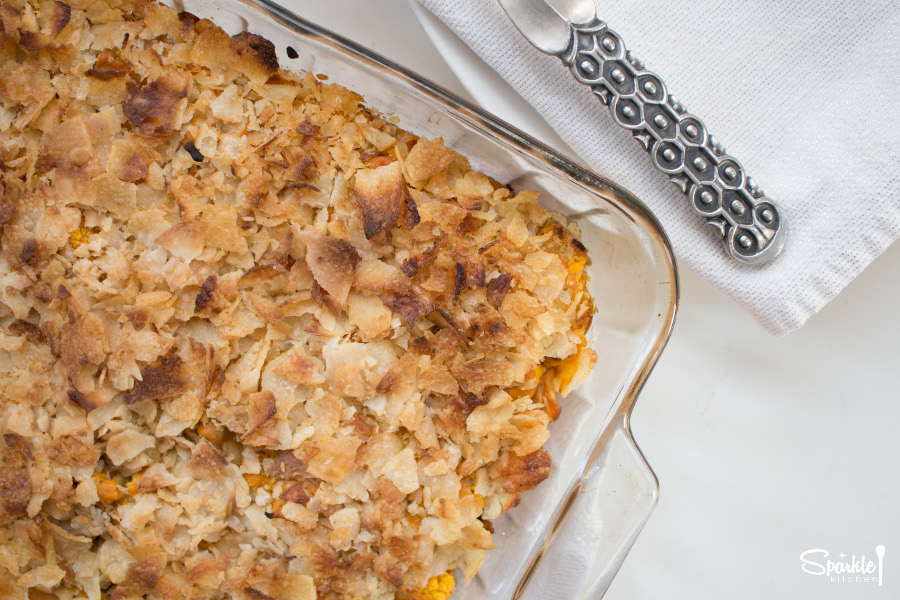
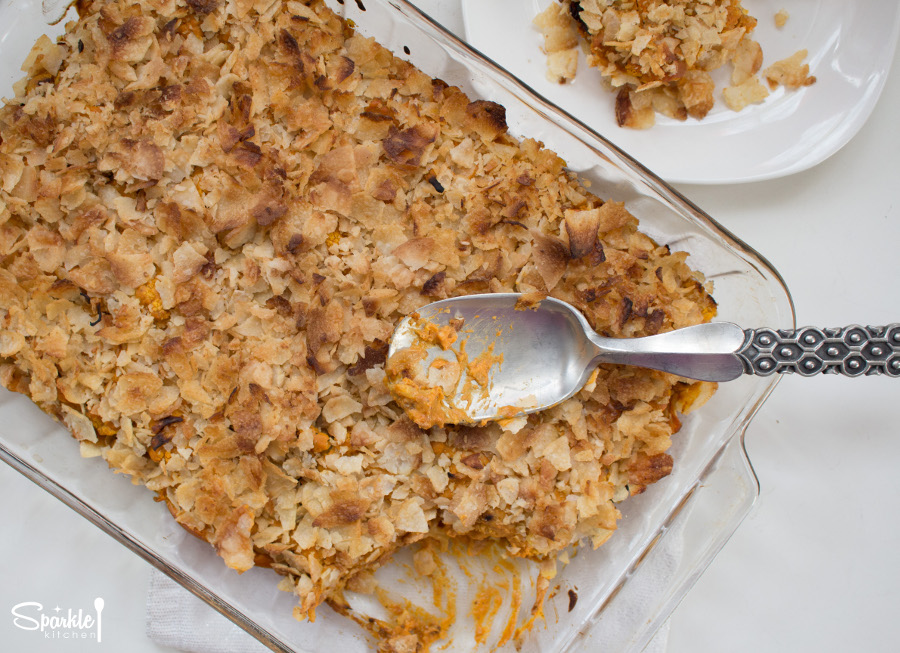
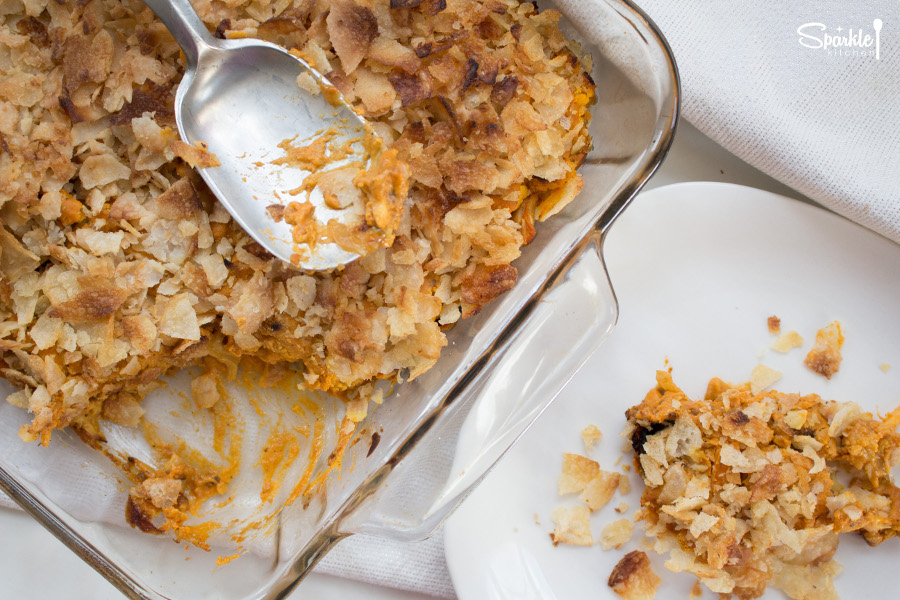
Roasted Cauliflower Gratin - Dairy-Free/Paleo/Vegan

Roasted Cauliflower Gratin - Dairy-Free/Paleo/VeganRoasted Cauliflower Gratin - Dairy-Free/Paleo/VeganRoasted Cauliflower Gratin - Dairy-Free/Paleo/Vegan 

Roasted Cauliflower Gratin - Dairy-Free/Paleo/Vegan
Serves 6
A creamy, dairy-free cauliflower gratin made with butternut squash "cheese" and nutritional yeast.
Write a review
Print
Prep Time
15 min
Cook Time
40 min
Total Time
55 min
Prep Time
15 min
Cook Time
40 min
Total Time
55 min
Ingredients
  1. 4 cups cauliflower - chopped into bite-sized pieces
  2. 1 cup sweet onion - thinly sliced
  3. 3 tsp coconut oil - for roasting pan
  4. 1 bag (5 oz) Jackson’s Honest Sea Salt Potato Chips - for topping
  5. “CHEESE” SAUCE
  6. 2 cups butternut squash - cooked and pureed (canned butternut squash works too)
  7. 1 cup canned fullfat coconut milk - I use Native Forest Organic brand
1 tbsp arrowroot powder - for thickening
  8. 3 tsp lemon juice
  9. 1 tsp apple cider vinegar
  10. 1 tbsp garlic - minced
  11. ¾ cup nutritional yeast
  12. 2 tsp smoked paprika
  13. 1 tsp salt
  14. 1 tsp black pepper
  15. ¼ tsp grated nutmeg
Instructions
  1. Pre-heat oven to 425F degrees.
  2. Toss the cauliflower and onions with coconut oil and salt. Spread evenly across a roasting pan and roast for 20 minutes, flipping them over halfway through.
  3. While the cauliflower and onions are roasting, make the sauce.
  4. Add the coconut milk and arrowroot to a medium saucepan over medium-low heat. Begin whisking constantly as the mixture heats. Make sure there are no lumps.
  5. Turn off the heat. Pour the milk into a food processor and add in all sauce ingredients including the cooked butternut squash. Puree on high for 5 minutes.
  6. Pour 1 cup of sauce into the bottom of an 8½”x11” baking dish. Spread the cauliflower on top and then pour on the remaining sauce.
  7. Reduce oven temperature to 350F and bake for 10 minutes.
  8. Remove from oven and sprinkle the top with the chip crumbles.
  9. Turn oven to broil and cook for 8 minutes until chips are crunchy.
  10. Serve immediately so that the chips stay crunchy.
Sparkle Kitchen https://sparklekitchen.com/
Roasted Cauliflower Gratin - Dairy-Free/Paleo/VeganRoasted Cauliflower Gratin - Dairy-Free/Paleo/Vegan

2 Ingredient Dairy-Free Coconut Yogurt

I’ve wanted to make my own yogurt for years. In my dairy-eating days I would eat it every day for the probiotics. The super thick Greek-style yogurt was my staple. And I miss that tangy goodness.

If you’ve tried any of the non-dairy yogurt options you know they are pathetic. Most often jello-y globs that plop out of the container. Eww. There are only two brands of coconut milk yogurt that I enjoy, Anita’s and CO YO. Both are fabulous, yet crazy expensive and hard to find in stores.

Option B: Make my own. I was inspired by Laura Miller’s recipe using fresh coconut milk. Check it out here. Her video is freakin’ hilarious. You MUST watch it. It involves a probiotics song to the beat of 702’s song “Where My Girls At.” Amazing.

Laura uses fresh coconut in her recipe, but I just don’t have time for that. So I made it with canned full-fat coconut milk. It worked perfectly! And is so easy you can make it anytime and always have some in the fridge.
Homemade Coconut Milk Yogurt Homemade Coconut Milk Yogurt
A few things to note before you get started:

  • Yogurt gets its sour flavor from the lactic acid in probiotics.
  • Choose a probiotic that requires refrigeration. Probiotics are living and must remain at a certain temperature or they will die (which would defeat the whole purpose of probiotics).
  • Make sure your probiotic falls into your allergen guidelines. Many probiotics are made from dairy strains and contain trace amounts of dairy.   
  • Only canned full-fat coconut milk and coconut cream work for this recipe. The boxed coconut milks are too thin and will result in a watery consistency (more like a kefir).


Enjoy!

2 Ingredient Dairy-Free Coconut Yogurt
Serves 4
Homemade coconut milk yogurt made with canned coconut milk.
Write a review
Print
Prep Time
5 min
Cook Time
24 hr
Prep Time
5 min
Cook Time
24 hr
Ingredients
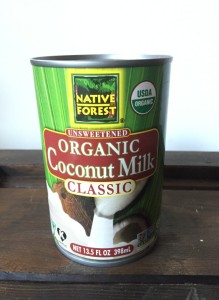
  1. 1 can full-fat coconut milk cream - I use Native Forest brand
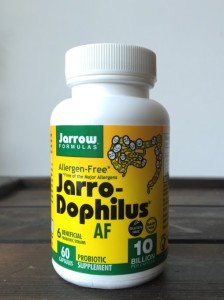
  2. 2 capsules of probiotics - I use Jarrow Formulas’ Jarro-Dophilus Allergen-Free
Materials
  1. glass or ceramic bowl
  2. silicone spatula
  3. wooden spoon
  4. tea towel or paper towel
  5. large rubber band
Instructions
  1. Make sure all your materials have been thoroughly washed with warm, soapy water. This prevents any bacteria from interfering with the probiotics.
  2. No metal can be used when making this recipe. Metal will counter the probiotics.
  3. Place the canned coconut milk in the fridge for 12 hours.
  4. Remove from the fridge, turn upside down and open the can from the bottom.
  5. Coconut water should be at the top of the can. Pour this out and save for another recipe. Then you are left with the thick, creamy coconut on the bottom.
  6. Scoop out the coconut cream with a spatula and put into your bowl. Heat the cream for 45 seconds in the microwave. Probiotics like a warm environment and the heat will get them going.
  7. Open the probiotic capsules and sprinkle over the cream. Mix together with the wooden spoon.
  8. Cover bowl with the towel and secure with the rubber band. You want the yogurt to be able to breath so make sure to use a breathable covering.
  9. Then place the bowl in a warm, dark place for 48 hours.
  10. After 24 to 48 hours the probiotics will have worked their way into the coconut and you’ll have tangy yogurt.
  11. Store in the refrigerator.
Adapted from Laura Miller
Sparkle Kitchen https://sparklekitchen.com/
2 Ingredient Dairy-Free Coconut Yogurt