We all want to eat more food. Well at least I know I do. I relied on restricting diets to determine my health for far too long and I never achieved the results I desired. That’s the top reason I look for outdoor kitchen ideas and I shifted my food choices to prioritizing nutrient density.
How many different fruits and vegetables do you eat in a day? How many do you eat in one week? If you’re like most people you stick with what’s familiar and stay inside your food comfort zone. The average American only fits in from five to ten different plants in one week. That’s a tiny number when you think of the variety of edible plants in the world. This number could even be holding you back on optimal health.
Dr. Terry Whals puts it plainly, “the food you eat has everything to do with how well your body functions. Cellular fuel comes from the food you eat.” Even single cell in our body relies on the food we feed it. If we feed it donuts and calzones then it doesn’t have many nutrients to keep everything working. A plant-rich diet provides many of the essentials vitamins and minerals, and since each one has different compounds, it’s important to vary your consumption. An immense amount of research shows how critical plants are to the body’s functioning. Even Michael Pollan’s famous quote applies, “Eat food, Not too much. Mostly plants.”
So how do you let go of familiarity and get more plants into your life? First, step outside your safety zone and go into unfamiliar territory. Walk through the produce aisle and pick up a fruit or vegetable you’ve never had before. I still do this all the time and love the thrill of experiencing a new food. In Malaysia I was surrounded by tropical fruits like jack fruit, mangosteens and dragon fruit and I tried each.
Or you can go all in and jump into Nutrient Boot Camp! Alex of DigPrimal.com has created this challenge to get more plants into people’s lives. It will get you eating more vegetables, more fruits, spice up your meals and discover new tea blends. Alex says, “When you look at food as nutrients, making good choices becomes infinitely easier.” This is such a great perspective on food. Nutrient Boot Camp provides shopping lists for vegetables, fruits, spices and teas as well as delicious recipes for how to create whole meals. The first group begins April 1st and it’s FREE! All you have to do is join the Facebook Group and you’ll have a whole team to help you through the challenge.
Nutrient Boot Camp Includes:
Shopping Lists for Vegetables, Fruits, Spices and Teas
Daily Tracking Log
Spice Blend Recipes
Tea Combination Recipes
Recipe Directory
Daily Email with Practical Tips
I’ll be joining the Boot Camp and I’m challenged to incorporate a greater variety into my diet. But I’m most excited about the tea blends. As a coffee lover, I’m struggling with ways to make tea just as delicious. I think tea blends may be the answer. I’m already hooked on Alex’s Salted Caramel Faux-Latte made with Chai Tea. Yum!
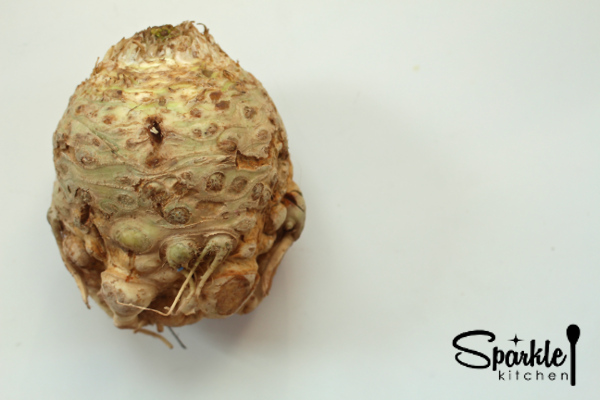
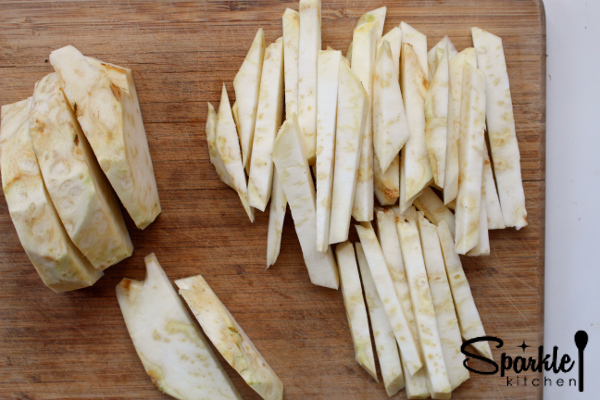
To introduce a new vegetable, I have recently fallen for celery root. It’s exactly what it sounds like, the root of the celery plant. At first glance, it is a bit alien-like and covered in dirt. I had to shake it off into the sink before I began cutting it. It is incredibly versatile though! Chop it up for sautéing, roast it, mash it or make them into fries for dipping into homemade mayo. I like to think of it as a potato alternative. Below is my step-by-step guide for chopping celery root.

- 1 celery root
- Thoroughly wash the celery root and pat dry.
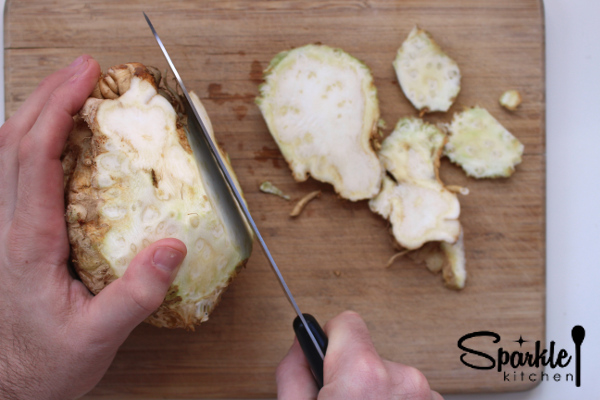
- Using a sharp knife begin removing all of the outer skin. Compost the skin.
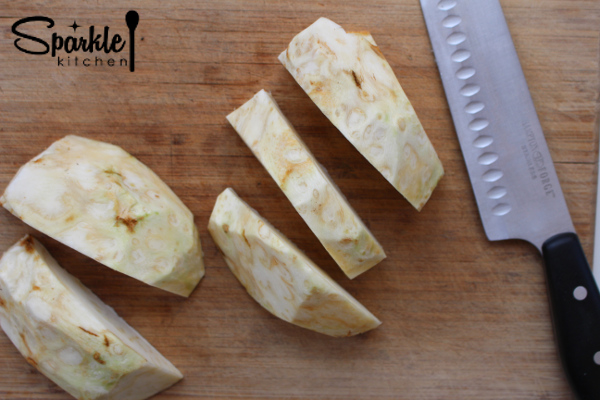
- Chop lengthwise and then cut into desired shape for sautéing or roasting.
 If you’re ready to spice up your meals and see how your body changes with all the added nutrients, then join the challenge and sign-up for Nutrient Boot Camp for April 1st. Devote 28 days and you can choose between 15, 20 or 25 different plants every day.
Join the Facebook Group here. I’ll see you there!