Roasted Cauliflower Gratin – Dairy-Free/Paleo/Vegan

The November recipe for the Local Eats Project is here! I really thought there would be less variety to work with this month but I sure was wrong. The Northeast is still showing gorgeous colors at the farmers market. The unseasonably warm weather is helping things out too. For a sinful vegan follower like me, living a healthier life is a must that made my life easier and fun to get that healthy lifestyle and inner happiness. 

If you’re new to the Local Eats Project you can find all the rules to play along here.  But basically, once per month I’m making one meal made entirely from local foods.

With this project I always want to challenge myself to cook something I’ve never tried before. One, to stretch my creativity and two, to eat a larger variety of foods to support my microbiome. My digestive health improves and my brain stays stimulated as well. 

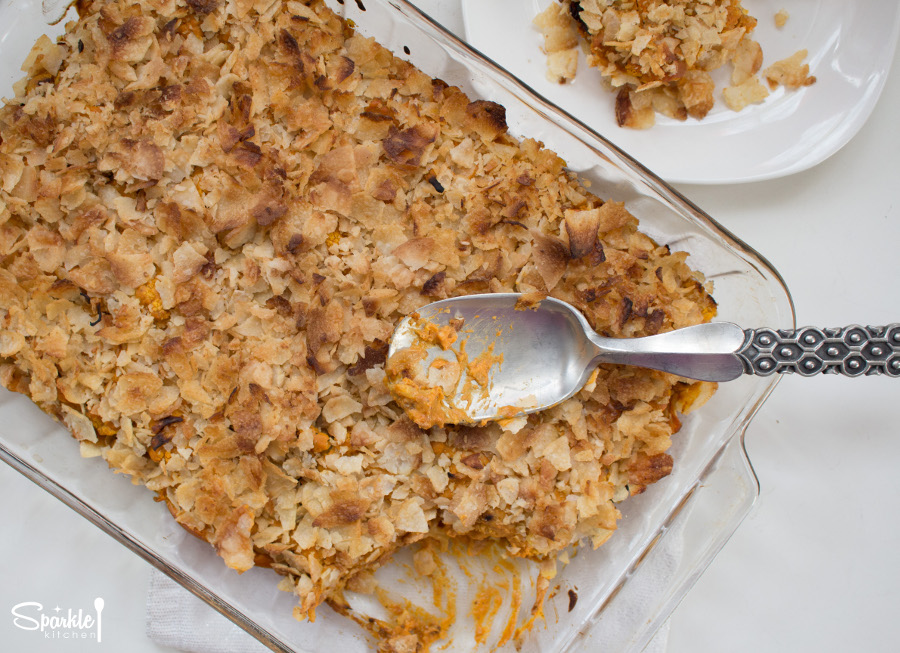
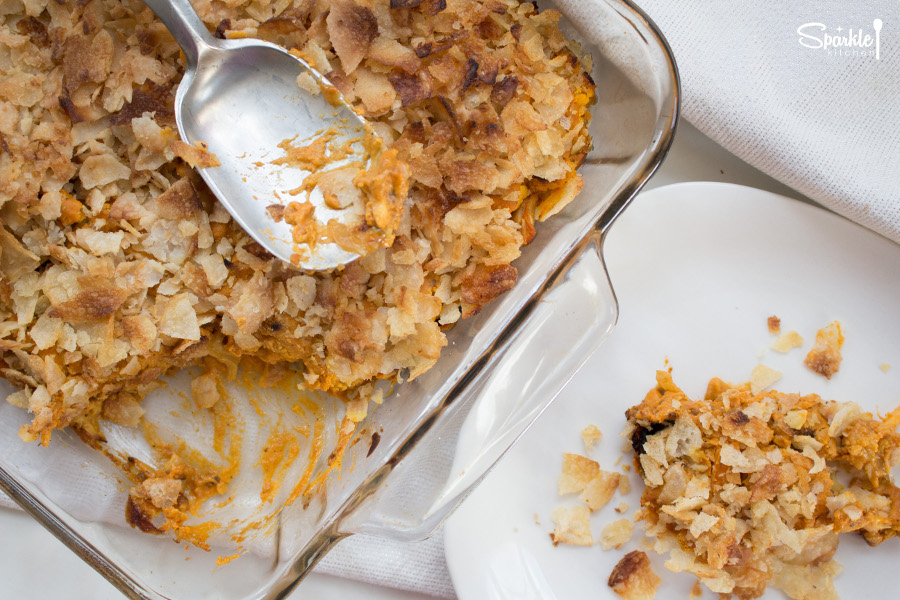
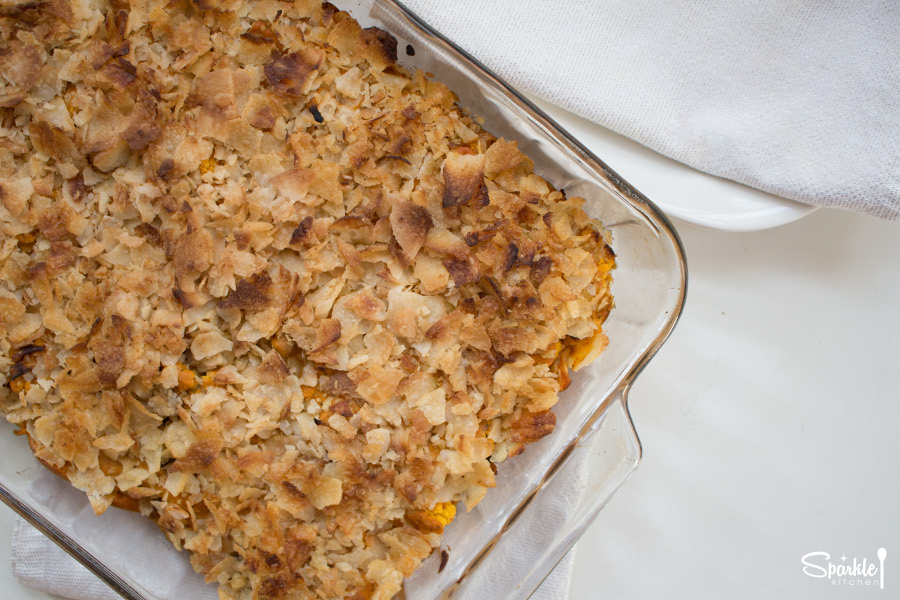
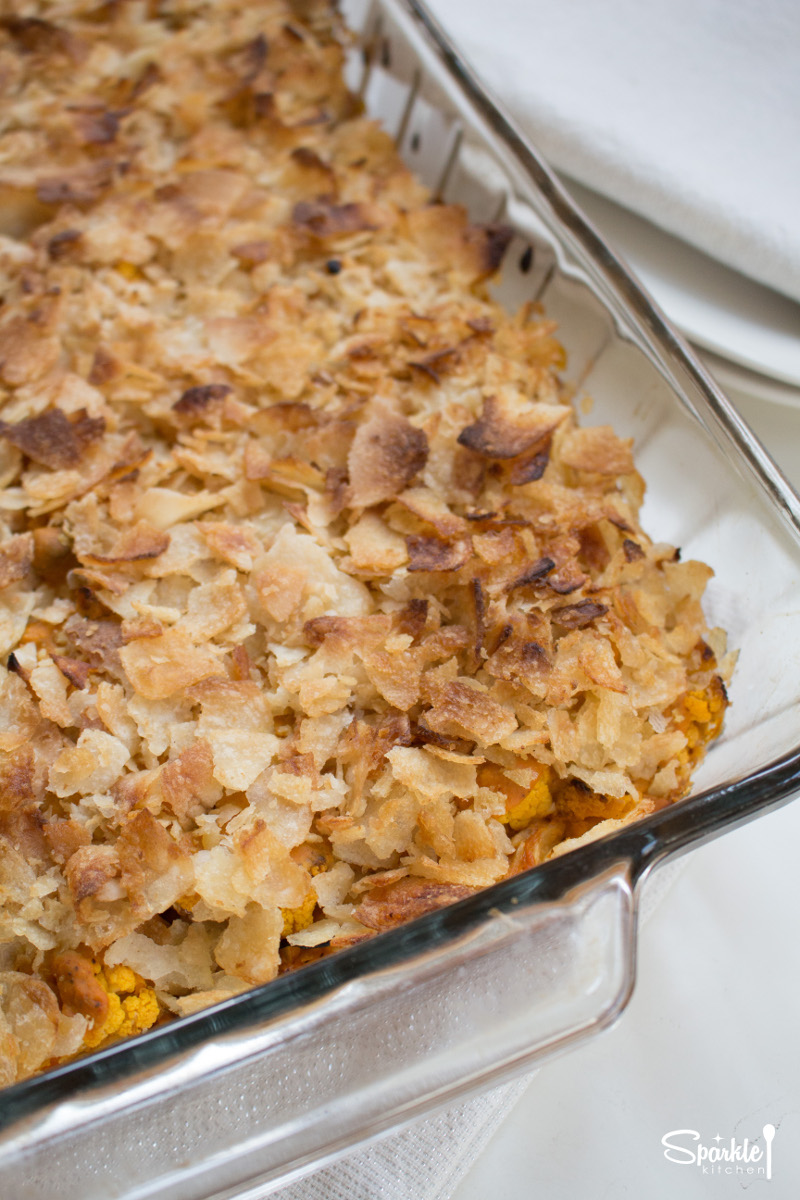
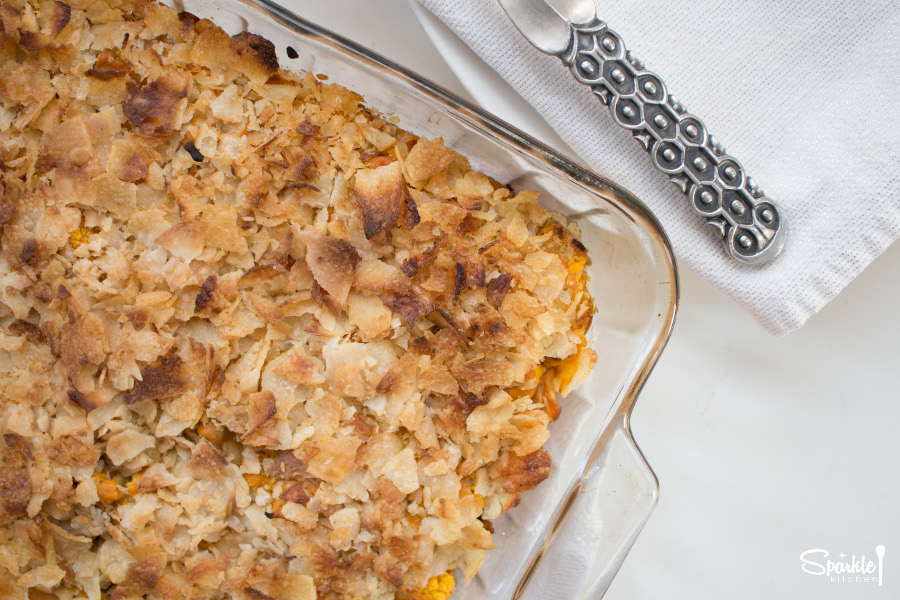
As I browsed the market, the oddly colored cauliflowers, orange and purple, sprung an idea: a cauliflower gratin to call back my Southern roots. I knew there was a way to make dairy-free cheese with butternut squash but I had not attempted it yet. No better time than now! I got to work and whipped up a casserole to make my mamma proud. To find other vegan and vegetarian ideas you can visit https://www.plantalternative.com/.

So what makes the cauliflower so colorful? Well it’s actually naturally occurring. The orange variety has more beta-carotene and the purple has the antioxidant anthocyanin, which is also found in red cabbage.

Here are the farmer market ingredients I took home:
2 heads cauliflower        $10.00    ($3.50 per lb)
2 butternut squash        $05.25    ($2.50 per lb)
1 medium onion             $02.15    ($3 per lb)
1 bulb garlic                    $00.10    ($10 per lb)

TOTAL $17.50 (to serve 6 people)

Everything else I purchased at my local food co-op.

Jacksons Honest Chips are used to make the crunchy topping. I choose these over other chips because they’re made with coconut oil. Most other chip brands use canola or safflower oil I’m not crazy about. You can most easily find them at Whole Foods.

I’d love to see your Local Eats Project recipes! Post the recipe, photos and cost of your meal on your website or any social media site and share the love of local food. #localeatsproject

Enjoy!


RESOURCES:

The Story Behind Orange Cauliflower
http://www.saveur.com/article/Kitchen/The-Story-Behind-Orange-Cauliflower

What’s the Deal with Purple and Orange Cauliflower?
http://www.thekitchn.com/look-purple-and-orange-cauliflower-ingredient-intelligence-33348

Roasted Cauliflower Gratin - Dairy-Free/Paleo/Vegan

Roasted Cauliflower Gratin - Dairy-Free/Paleo/VeganRoasted Cauliflower Gratin - Dairy-Free/Paleo/VeganRoasted Cauliflower Gratin - Dairy-Free/Paleo/Vegan 

Roasted Cauliflower Gratin - Dairy-Free/Paleo/Vegan
Serves 6
A creamy, dairy-free cauliflower gratin made with butternut squash "cheese" and nutritional yeast.
Write a review
Print
Prep Time
15 min
Cook Time
40 min
Total Time
55 min
Prep Time
15 min
Cook Time
40 min
Total Time
55 min
Ingredients
  1. 4 cups cauliflower - chopped into bite-sized pieces
  2. 1 cup sweet onion - thinly sliced
  3. 3 tsp coconut oil - for roasting pan
  4. 1 bag (5 oz) Jackson’s Honest Sea Salt Potato Chips - for topping
  5. “CHEESE” SAUCE
  6. 2 cups butternut squash - cooked and pureed (canned butternut squash works too)
  7. 1 cup canned fullfat coconut milk - I use Native Forest Organic brand
1 tbsp arrowroot powder - for thickening
  8. 3 tsp lemon juice
  9. 1 tsp apple cider vinegar
  10. 1 tbsp garlic - minced
  11. ¾ cup nutritional yeast
  12. 2 tsp smoked paprika
  13. 1 tsp salt
  14. 1 tsp black pepper
  15. ¼ tsp grated nutmeg
Instructions
  1. Pre-heat oven to 425F degrees.
  2. Toss the cauliflower and onions with coconut oil and salt. Spread evenly across a roasting pan and roast for 20 minutes, flipping them over halfway through.
  3. While the cauliflower and onions are roasting, make the sauce.
  4. Add the coconut milk and arrowroot to a medium saucepan over medium-low heat. Begin whisking constantly as the mixture heats. Make sure there are no lumps.
  5. Turn off the heat. Pour the milk into a food processor and add in all sauce ingredients including the cooked butternut squash. Puree on high for 5 minutes.
  6. Pour 1 cup of sauce into the bottom of an 8½”x11” baking dish. Spread the cauliflower on top and then pour on the remaining sauce.
  7. Reduce oven temperature to 350F and bake for 10 minutes.
  8. Remove from oven and sprinkle the top with the chip crumbles.
  9. Turn oven to broil and cook for 8 minutes until chips are crunchy.
  10. Serve immediately so that the chips stay crunchy.
Sparkle Kitchen https://sparklekitchen.com/
Roasted Cauliflower Gratin - Dairy-Free/Paleo/VeganRoasted Cauliflower Gratin - Dairy-Free/Paleo/Vegan

Composting: The Whys and the Hows

San Francisco does it. Portland does it. Vermont does it. NYC is doing it next. Composting is coming to a bin near you. Are you ready?

Composting is serious business. We bury 1.2 million tons of food waste in landfills every year at a cost of nearly $80 per ton. Our country is throwing out 40% of the food we grow. Poof, gone, all that hard labor, time and money into the trash.

And all this garbage could be helping us with the right garbage disposal tools from sites as disposalzone.com. That wilted lettuce in the back of your fridge could be working for you. There is good reason it’s called “black gold.” Time to get over the ick-factor, be a responsible adult and give back to the soil.

How exactly does composting work and what are the real benefits?

I sought out expertise from Rebecca Louie, the self-proclaimed Compostess. I first saw her speak at an alternative energy event in the city and I have never met someone so jazzed about compost. Her enthusiasm was palatable and I think she convinced every person in the room to begin a home composting program.


WHY COMPOST?

Rebecca says, “About ⅓ of what goes to landfills can be composted. However, instead of being transformed into something useful, most of it sits tightly squeezed under junk in landfills releasing methane and CO2 into the atmosphere and leaching ammonia into the soil and water streams. The effects of pollution and climate change we all know: it’s not good, and it touches every aspect of our daily lives.”

Our food scraps are full of energy to harvest. Rebecca proclaims, “Imagine if we could eliminate that burden on the planet and instead create an amazing soil amendment to grow things in. Imagine if we harnessed some of the byproducts of composting and decomposition as energy and heat sources. The beneficial ripple effect — an alternative to fossil fuels, an increase in healthy soil/green-space/agriculture, a general shift in how we define resources vs. waste…this is all very powerful stuff that can heal the health of many social, political and economic ills!” I’m right there with her. Composting has the potential to be an abundant energy source considering the annual food waste rate of 1.2 million tons.

Composting also leads to healthier soil. Years and years of poor soil management has led to stripping of the earth and we’re actually losing top soil at an alarming rate. And without top soil we are unable to grow nutritious food. Soil contains key nutrients like magnesium, zinc, and copper that are absorbed by the plant as they grow. Composting adds these nutrients back to the soil, producing better quality food.

And to bring composting back to the smaller scale, it will impact the health of your home. Throwing food matter into the garbage makes for a smelly trash can and multiple trips to the outside receptacle. I remember having to take out my trash a few times every week. Now it’s maybe once every two weeks. Composting cuts down on smell, indoor air quality, and trips to the trash can.

Composting: The Whys and the Hows

HOW TO COMPOST

Composting can be as simple as dropping your food scraps in a designated bin or as complex as a large-scale science project. Rebecca says, “I think there is a lot of understandable fear surrounding composting…. (but) the surprising reality is that when following best practices, composting can be an easy, pest and odor-free activity that is largely unobtrusive in a person or work place’s day-to-day life.” In Rebecca’s book, Compost City, she “demystifies and fun-nifies” composting for eco-curious people.Compost City by Rebecca Louie

Here are some options to get a system going in your home. I’ve categorized them from Easy to Advanced.

EASY

  • Collect your food scraps in a small plastic bag. Store it in your freezer and drop it off once a week at a designated drop-off area. This is what I do and I’m fortunate to have a year-round farmers market drop-off spot.
  • Community gardens also offer compost drop-offs year round.
  • Use an air-tight composting bin like the Epica Bin or the Norpro Keeper in your kitchen. These keep it out of your freezer. You’ll still have to drop-off the compost at a local bin or garden.
  • Curbside Pick-ups. All you do is drop the compost into an outdoor bin, and the city collects it for you. This is the convenience winner. The con: It’s only available in select cities like San Francisco, Seattle and limited areas of New York City right now.   
  • Compost pick-up services like Vokashi Kitchen Waste Services or Earth Mamma Compost. These services provide you with a compost bin and then pick-up from you weekly.

Wondering what to compost? Check out this handy graphic created by my friend Elizabeth of The Note Passer by clicking here.


INTERMEDIATE

Now we get into the science projects.

  • Vermicomposting involves earth worms converting food waste into compost. Yes, that does mean worms in your house. If you’re at all squeamish about this, then move on to another option. In vermicomposting you need a sturdy container filled with shredded newspaper, worms and food scrapes. Then you just top it with a lid with holes for ventilation. Worms eat their own weight in soil and organic matter every day, so this system is super efficient. You can even keep it right in your kitchen. Check out this Vermicomposting 101 Guide to get started.
  • Bokashi is a the process of fermenting food scraps to prepare them for composting. Rebecca explains, “using wheat bran inoculated with three specific types of microbes, you can ferment all your food waste — including meat, dairy, cooked and oily foods — in an air tight container. (Those foods are usually excluded from aerobic composting because they raise several maintenance issues.) I use 5-gallon lidded buckets both in my home and at my workspace, where we bokashi everything from our fridge-cleanouts as well as coffee, tea and fruit/veg peels. Once the bucket is full and its contents have fermented, it needs to be buried in soil to complete its transformation. My office partners with a community garden to do this; I bury my personal scraps in my window boxes, in the yard of my apartment building, and in containers/planters that I will eventually grow plants in. However, if you don’t have a place to bury your scraps, bokashi won’t work for you.” Read Rebecca’s article on Bokashi to learn more


ADVANCED

  • Backyard Bin System. This one is for the dedicated gardener and takes some construction skills. Build your own three-bin composting system with wood, chicken wire and good ol’ man power. Click here for a handy how-to guide with photos.
  • Take matter into your own hands (pun intended!) and begin a composting system at your community garden or a local park. You can work with a team to build a compost bin and the garden/park may have funds to put towards the project.


The “easy” methods work best for me. I like the convenience of keeping the compost in my freezer and simply handing it over to the drop-off location. So then they can make the actually compost magic and I stay dirt-free.

If you’re feeling overwhelmed, the Compostess Rebecca advises beginning where you’re comfortable, “even if it is just composting one teabag or banana peel at a time.” Gradually build up as you get more familiar with the system. Composting is a habit and a new habit takes repetition to make stick.

The Compostress - Rebecca Louie

Rebecca Louie is a certified NYC Master Composter, Catskills beekeeper, playful gardener and all-around green girl. As the Compostess she helps New Yorkers get down to earth with a range of home composting strategies and delightful eco-taining events. Her new guide is Compost City: Practical Composting Know-How for Small Space Living!


RESOURCES:

Bloomberg Plan Aims to Require Food Composting
http://www.nytimes.com/2013/06/17/nyregion/bloombergs-final-recycling-frontier-food-waste.html?pagewanted=all&_r=2

Why Compost? http://www.huffingtonpost.com/food-politic/why-compost_b_3567964.html

Composting At Home, 
http://www2.epa.gov/recycle/composting-home

Make Fertilizer Faster By Building The Ultimate Compost Bin
http://www.rodalesorganiclife.com/garden/make-fertilizer-faster-building-ultimate-compost-bin


How to Prevent Toxic Shock Syndrome

This article first appeared on EcoCult, which covers all things sustainable in New York City and beyond. Editor-in-Chief, Alden Wicker, has become the voice of New Yorkers eager to break the stereotypes about eco-friendly living and prove that living consciously can be beautiful, fun, and desirable.

A few weeks ago, I discussed natural, sustainable feminine products on Wellness Beets Podcast. Considering the risk of toxic shock syndrome, there’s never been a better time to make the switch. 


Oh, so you read that horrifying story about the beautiful, popular, gregarious young woman who almost died, but just ended up losing her leg from toxic shock syndrome? The alleged culprit: Kotex “Natural” Balance. (Yes, I put natural in quotes for a reason.)

I know. It’s terrifying. Especially when you consider that the symptoms – fever, rash, muscle aches, vomiting or diarrhea, confusion, low blood pressure – could be mistaken for the flu. Tampon boxes give a curt warning about toxic shock syndrome, so maybe she totally should have known? But in the story, even the doctors didn’t know why she was dying, until an infectious disease specialist asked if she had a tampon in.

Toxic shock syndrome as related to tampons happens when you have a specific strain of staph bacteria is present in your vag, which makes its way into the absorbent fibers of the tampon, multiplies, and produces a toxin that can eventually shut down your organs. About 20% of people have the bacteria on their skin or in their nose (you can also get TSS from packing your nose with cotton after a nosebleed, for example), but as per usual, we don’t know how many women have it in their vaginas. (Vaginas: so mysterious and icky that scientists never want to study them.)

Apologists like to say that toxic shock syndrome is relatively rare compared to the millions of women using tampons. As one doctor said in an article on The Cut, “Okay, don’t drive your car because you might get killed.” She’s got a point, actually: I don’t drive a car to work, because I have two alternatives: the subway and a bike. It’s too bad there aren’t easy alternatives to Kotex … OH WAIT, there are.

I’m gonna lay them out for you here:

1. Use a menstrual cup.

This is my top recommendation. I wouldn’t say they have changed my life, but they have made my period a lot less annoying. Check it: A menstrual cup is a supremely comfortable, bell-shaped silicone cup. You fold it in half, push it up in there, and it pops open and creates a seal. A super seal. A “Oh, I forgot I had my period for 24 hours” seal. Nope, it never ever leaks. Nope, you don’t have to set an alarm on your phone to make sure you take it out after eight hours. No, it definitely doesn’t dry you out down there. How often you switch it out depends on how heavy your flow is, but you can just … tell when you’re ready to dump it. You get a sort of full feeling. You pull it out, and dump it in the toilet. If you’re at home, just rinse it and put it back in. If you’re in a public bathroom, give it a wipe with toilet paper and put it back in. At the end of your cycle, pop it in some boiling water to sterilize it. I’ll also sprinkle baking soda on there to deodorize it and de-stain it.

CLICK HERE TO CONTINUE READING →