Dairy-Free Eggnog

Well hello there eggnog season. Get out the punch bowl and make up a batch of this yummy and somewhat nutritious beverage. I give credit to the nutrient-rich, pastured egg yolks in this recipe, full of vitamins A, D, E and K.

Eggnog hails from England back in the 17th century and was quite popular among the early American colonies. Rum was the spirit of choice back then and has evolved to cognac, brandy, bourbon or whiskey. My version of eggnog is sans alcohol so go with whatever suits your tastebuds.

Dairy-Free Eggnog
I must mention, please consume raw eggs at your own risk. I stress the importance of choosing pasture-raised eggs for many reasons and salmonella is the big one. Pasture-raised eggs from a trusted farmer have a lesser chance of salmonella contamination.

Salmonella most often lives on the exterior of egg shells. Wash the eggs well with warm water and pat them dry before using and the bacteria will wash off. But salmonella is also found in the ovaries of hens and can be passed to the inside of eggs. This is far less common, although still cause for concern. It is up to the farmer to regularly test each hen for the bacteria. When you buy eggs from a trusted farmer you can ask the right questions to ensure none are contaminated.

You can also slowly heat the egg nog over low heat for 20 minutes to kill off any harmful bacteria. Just stir continuously to prevent any clumping.

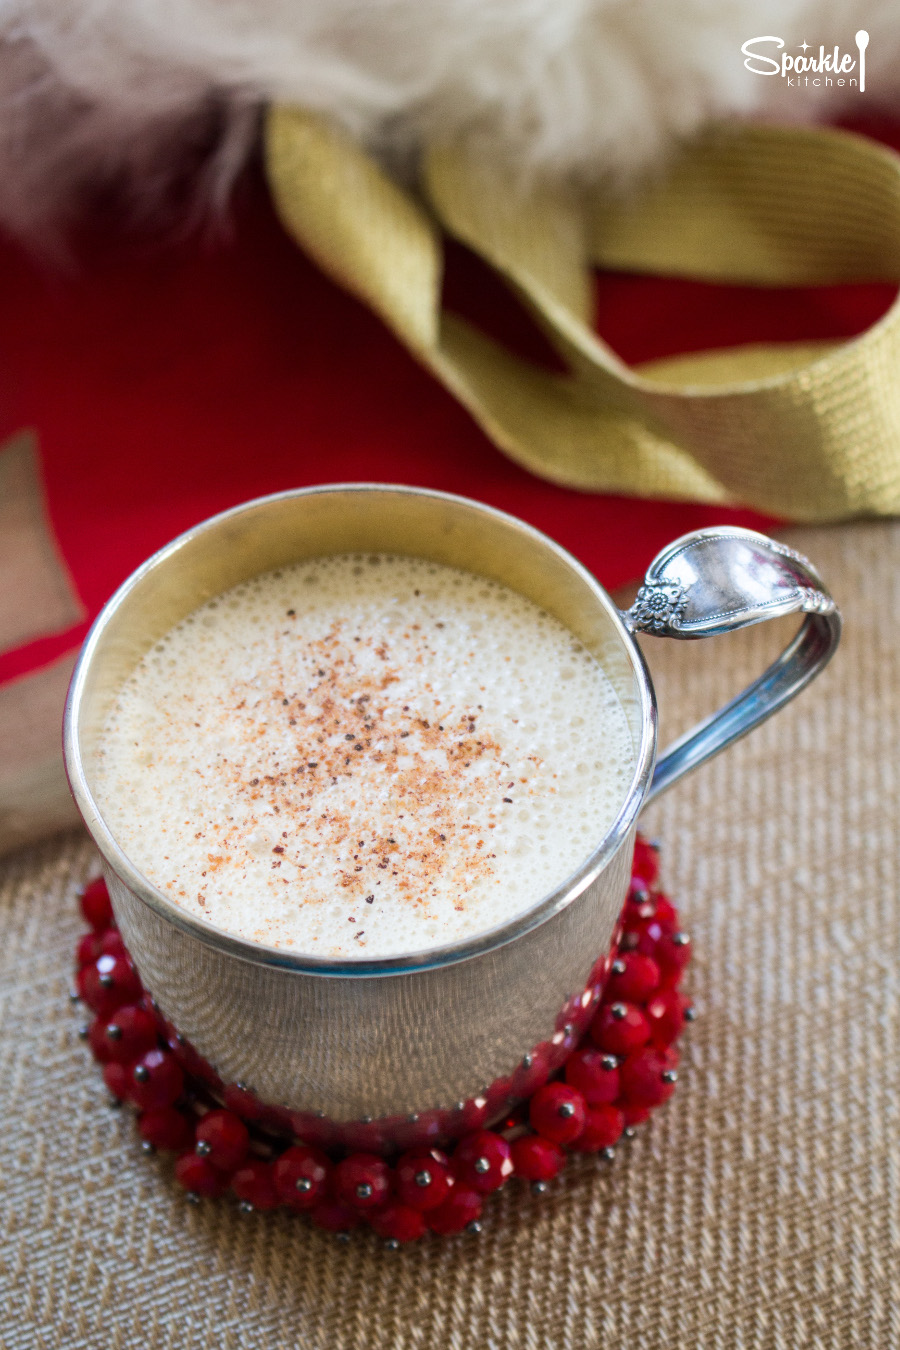
I like to top off my eggnog with a dash of nutmeg, a cinnamon stick and good holiday cheer.

Enjoy!

Dairy-Free Eggnog
Serves 4
Dairy-Free Eggnog made with creamy coconut milk and nourishing egg yolks.
Write a review
Print
Prep Time
5 min
Cook Time
1 min
Total Time
6 min
Prep Time
5 min
Cook Time
1 min
Total Time
6 min
Ingredients
  1. 4 pastured egg yolks
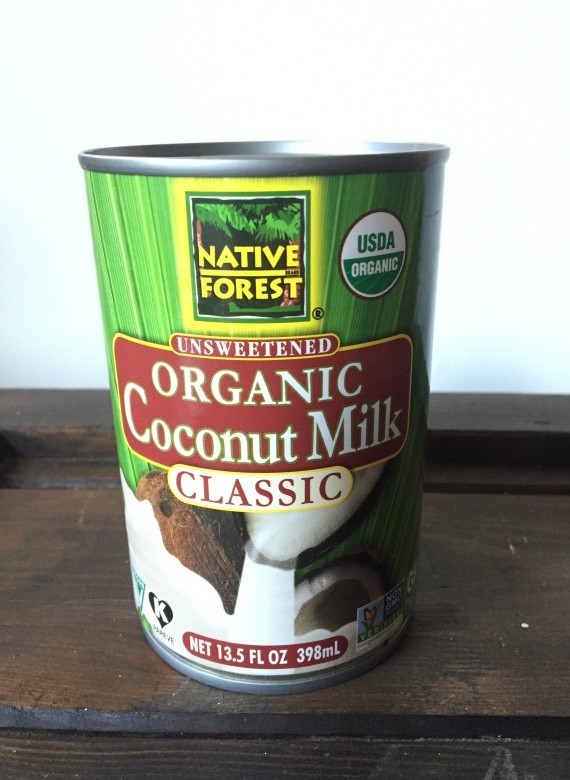
  2. 3 cups canned full-fat coconut milk
  3. 1 cup canned light coconut milk
  4. ½ cup maple syrup
  5. 1 tsp vanilla
  6. 1 tsp nutmeg
  7. ½ tsp cinnamon
  8. ⅛ tsp allspice
  9. pinch of salt
Instructions
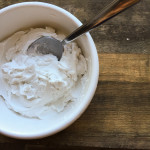
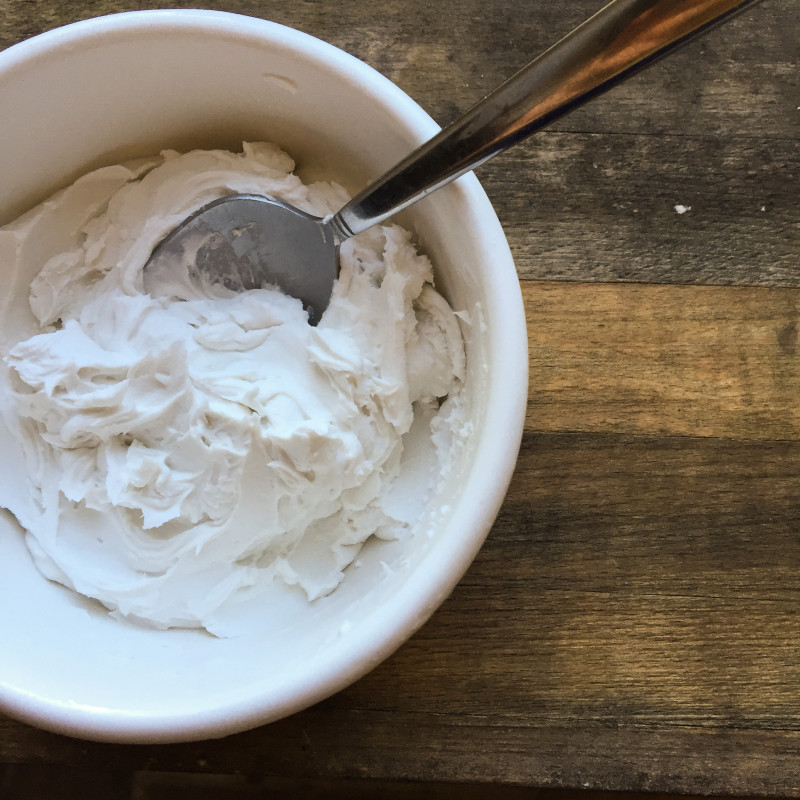
  1. Place all ingredients in a large jar or mixing bowl. Then using an immersion blender, blend everything together well until frothy.
  2. Cover and chill in the fridge for 1-2 hours.
  3. Top with a dash of nutmeg and a cinnamon stick.
Sparkle Kitchen https://sparklekitchen.com/
Dairy-Free Eggnog 

RESOURCES
How Does Salmonella Get Inside Eggs?
http://www.livescience.com/10016-salmonella-eggs.html

Alton Brown on the History of Eggnog
http://mentalfloss.com/article/31813/alton-brown-history-eggnog


2 Ingredient Dairy-Free Coconut Yogurt

I’ve wanted to make my own yogurt for years. In my dairy-eating days I would eat it every day for the probiotics. The super thick Greek-style yogurt was my staple. And I miss that tangy goodness.

If you’ve tried any of the non-dairy yogurt options you know they are pathetic. Most often jello-y globs that plop out of the container. Eww. There are only two brands of coconut milk yogurt that I enjoy, Anita’s and CO YO. Both are fabulous, yet crazy expensive and hard to find in stores.

Option B: Make my own. I was inspired by Laura Miller’s recipe using fresh coconut milk. Check it out here. Her video is freakin’ hilarious. You MUST watch it. It involves a probiotics song to the beat of 702’s song “Where My Girls At.” Amazing.

Laura uses fresh coconut in her recipe, but I just don’t have time for that. So I made it with canned full-fat coconut milk. It worked perfectly! And is so easy you can make it anytime and always have some in the fridge.
Homemade Coconut Milk Yogurt Homemade Coconut Milk Yogurt
A few things to note before you get started:

  • Yogurt gets its sour flavor from the lactic acid in probiotics.
  • Choose a probiotic that requires refrigeration. Probiotics are living and must remain at a certain temperature or they will die (which would defeat the whole purpose of probiotics).
  • Make sure your probiotic falls into your allergen guidelines. Many probiotics are made from dairy strains and contain trace amounts of dairy.   
  • Only canned full-fat coconut milk and coconut cream work for this recipe. The boxed coconut milks are too thin and will result in a watery consistency (more like a kefir).


Enjoy!

2 Ingredient Dairy-Free Coconut Yogurt
Serves 4
Homemade coconut milk yogurt made with canned coconut milk.
Write a review
Print
Prep Time
5 min
Cook Time
24 hr
Prep Time
5 min
Cook Time
24 hr
Ingredients
  1. 1 can full-fat coconut milk cream - I use Native Forest brand
  2. 2 capsules of probiotics - I use Jarrow Formulas’ Jarro-Dophilus Allergen-Free
Materials
  1. glass or ceramic bowl
  2. silicone spatula
  3. wooden spoon
  4. tea towel or paper towel
  5. large rubber band
Instructions
  1. Make sure all your materials have been thoroughly washed with warm, soapy water. This prevents any bacteria from interfering with the probiotics.
  2. No metal can be used when making this recipe. Metal will counter the probiotics.
  3. Place the canned coconut milk in the fridge for 12 hours.
  4. Remove from the fridge, turn upside down and open the can from the bottom.
  5. Coconut water should be at the top of the can. Pour this out and save for another recipe. Then you are left with the thick, creamy coconut on the bottom.
  6. Scoop out the coconut cream with a spatula and put into your bowl. Heat the cream for 45 seconds in the microwave. Probiotics like a warm environment and the heat will get them going.
  7. Open the probiotic capsules and sprinkle over the cream. Mix together with the wooden spoon.
  8. Cover bowl with the towel and secure with the rubber band. You want the yogurt to be able to breath so make sure to use a breathable covering.
  9. Then place the bowl in a warm, dark place for 48 hours.
  10. After 24 to 48 hours the probiotics will have worked their way into the coconut and you’ll have tangy yogurt.
  11. Store in the refrigerator.
Adapted from Laura Miller
Sparkle Kitchen https://sparklekitchen.com/
2 Ingredient Dairy-Free Coconut Yogurt

Gluten-Free Chocolate Chip Pumpkin Bread

Happy pumpkin spice season! You either love it or love to hate it. Last year I went pumpkin crazy, creating a whole slew of recipes. You can go check them out here

My absolute favorite was my Maple Glazed Pumpkin Spice Bread, an incredibly moist gluten-free bread that also stayed together. Too many gluten-free goods crumble to bits before you can even get a bite in your mouth. This bread keeps it’s magic goodness together. 

All I did for this recipe was to add in 1 and 1/2 cups of dairy-free semi-sweet chocolate chips to the existing Maple Glazed Pumpkin Spice Bread. Equal Exchange makes these chocolates that I love. Watch my video below to follow along as you bake! 

You can never go wrong with this classic bread. Share the love at your next brunch party or fall pot-luck. 

Enjoy! 

Gluten-Free Chocolate Chip Pumpkin Bread

Gluten-Free Chocolate Chip Pumpkin Bread

Gluten-Free Chocolate Chip Pumpkin Bread

Gluten-Free Chocolate Chip Pumpkin Bread