

It’s getting back to the philosophy of using the whole animal. No part is wasted. Making broth from bones is steeped in as much tradition as it is in nutrition. Broth serves as the base for key cultural dishes the world over, from French Onion Soup to Shoyu Ramen.
My only memory of any sort of broth making was with the turkey carcasses post Thanksgiving. My grandmother is of the farming generation that lived on the land and knew the importance of using every animal part. She would simmer the carcass until the house filled with its comforting aroma. The turkey stock lasted for several months turning into various soups and stews. Thanksgiving kept on giving through the winter.
Broth can transform the most bland of meals into something rich and rounded. I use it in soups, stews, chili, sauces and to cook any vegetable. The nourishing properties of the broth are quickly absorbed. Add it to a big pot of turnip greens and you’ll never cook with water again.
BENEFITS
According to the Weston A Price Foundation, the benefits may even outweigh the flavor. Bone broth has a list of essential minerals including calcium, phosphorus, magnesium, and potassium. It is also rich in glycine and proline, which are amino acids that build strong cartilage and bones. When the collagen attached to the bone breaks down into the water, it creates a natural gelatin. This gelatin acts as an aid to digestion, can reduce inflammation and improves irritable bowels.
INGREDIENTS
Broth is a simple, basic recipe. It only truly requires two ingredients, broth and water. Heating the two breaks down the bones and all their nourishing content. Apple cider vinegar is added to help draw out more of the minerals, specifically calcium, magnesium and potassium. It is definitely not necessary though. You can still have delicious, beneficial broth without acid added.
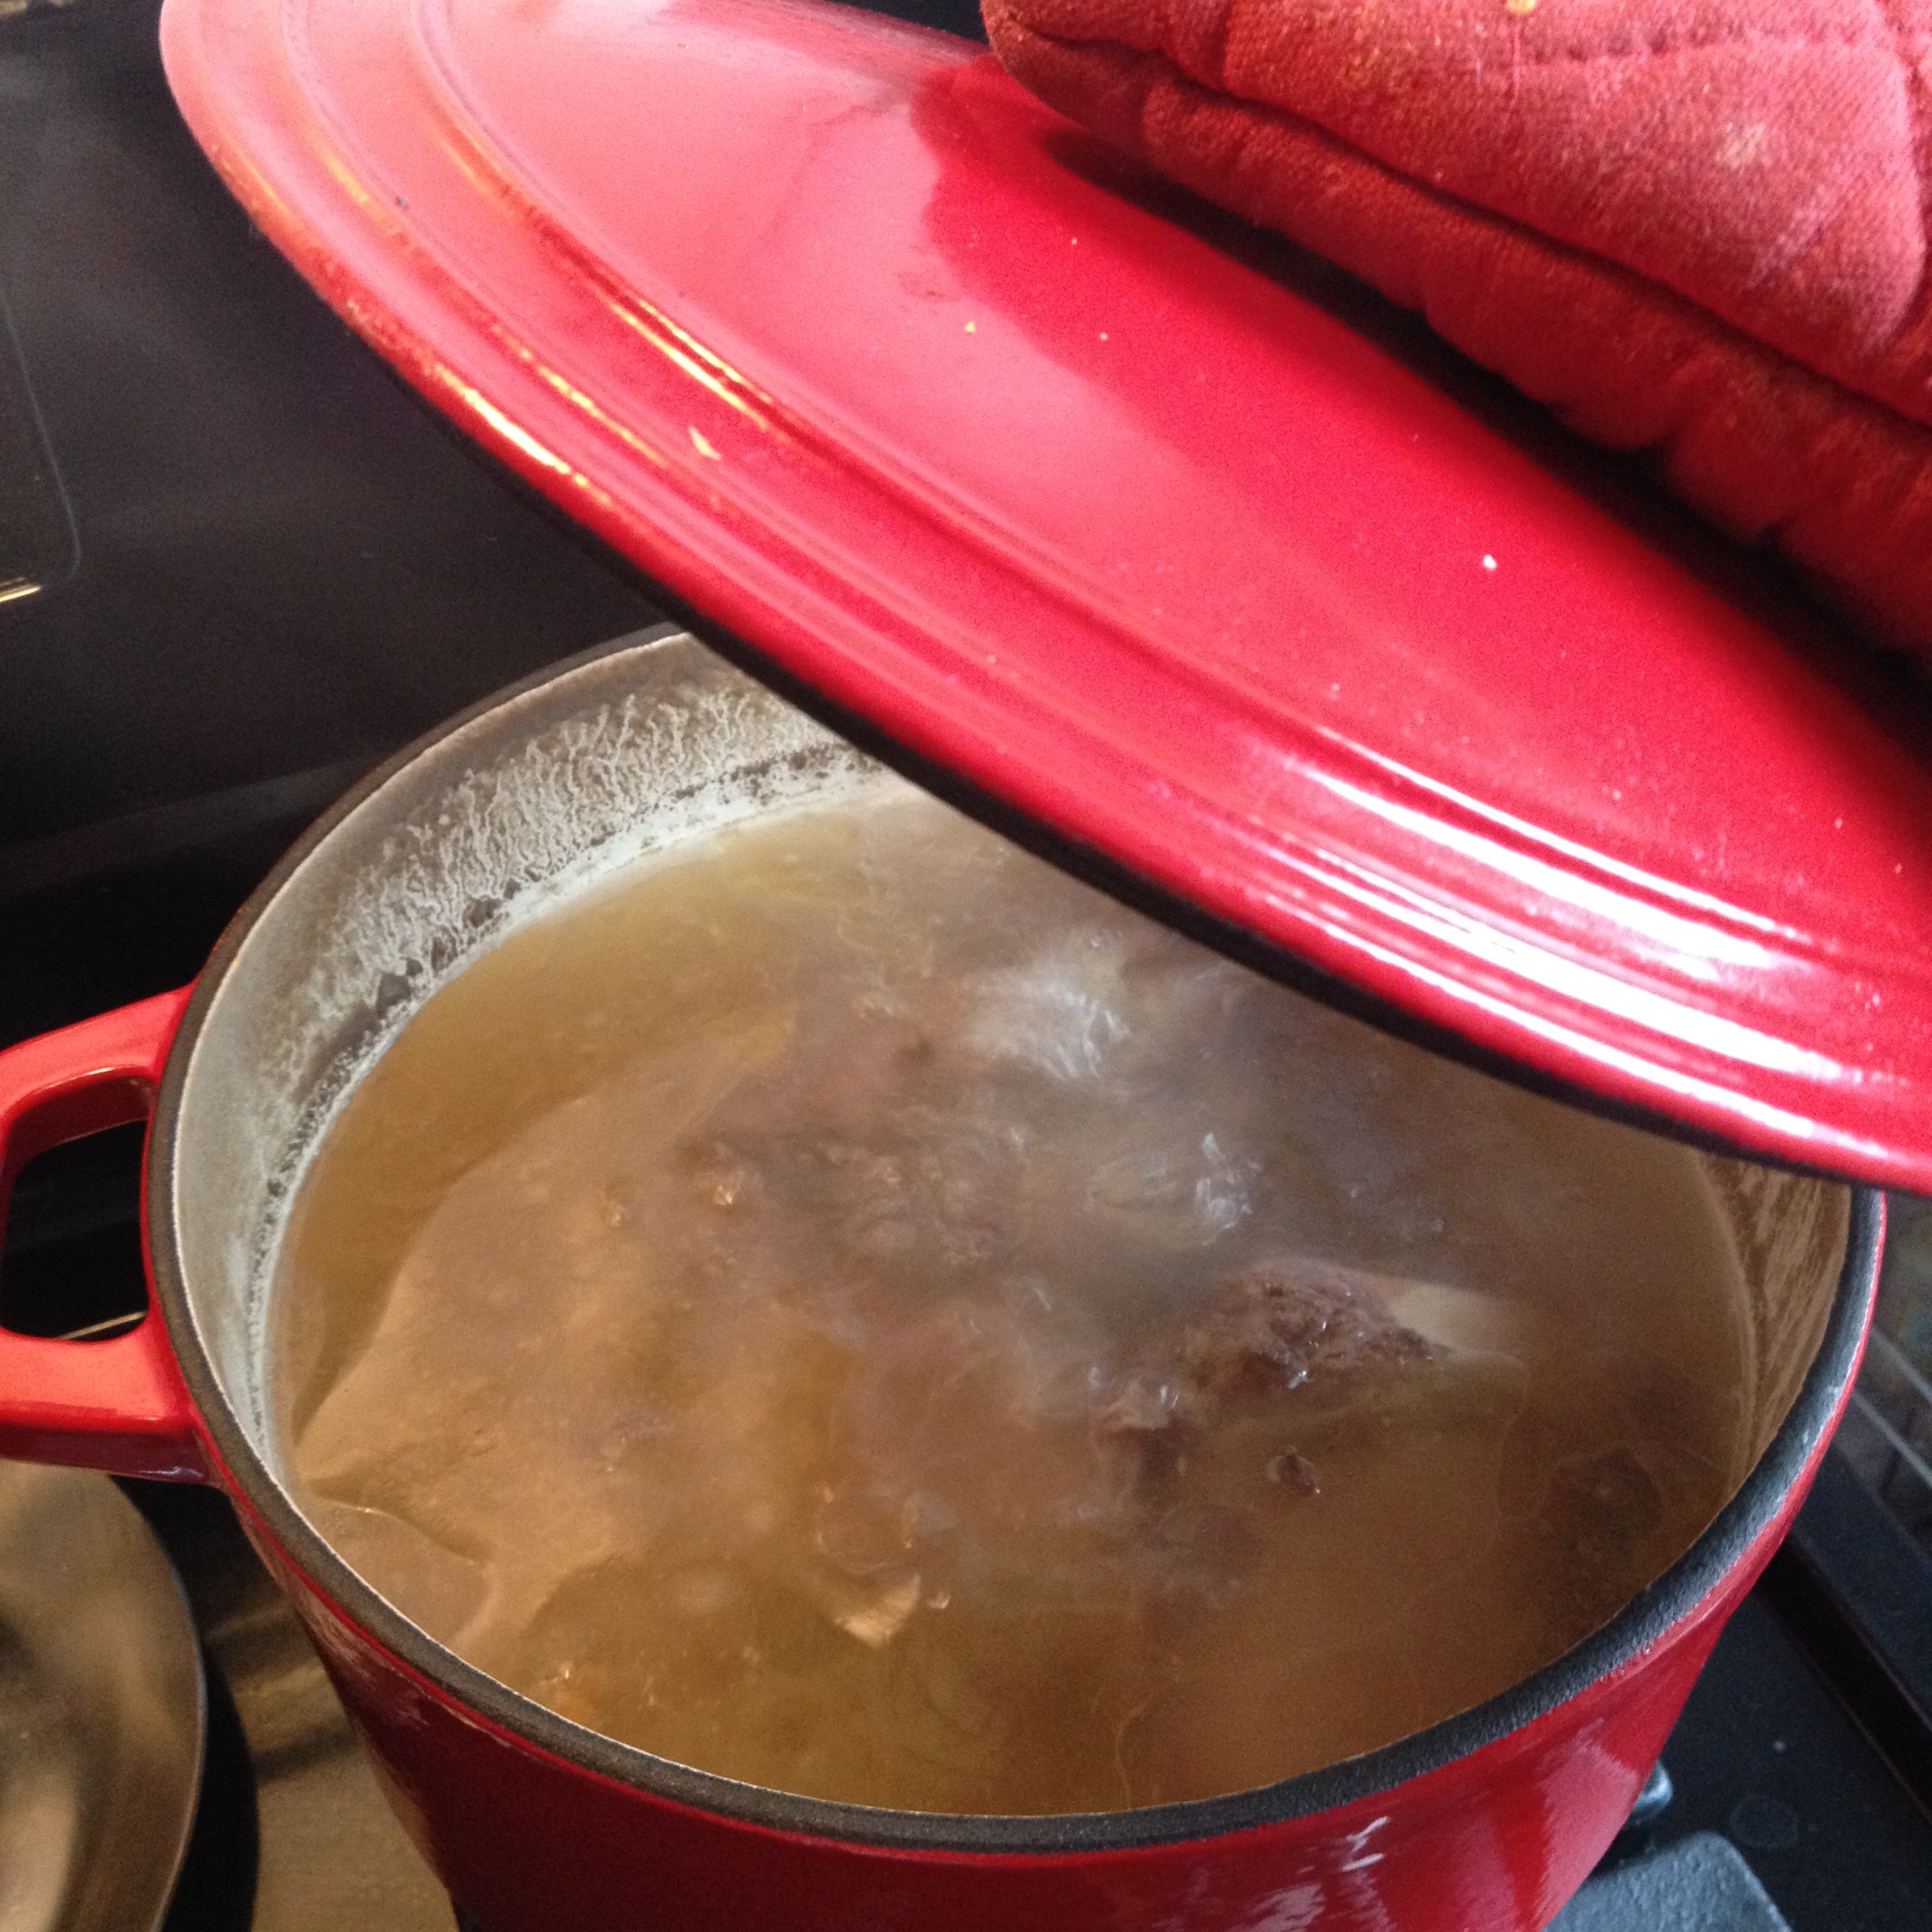
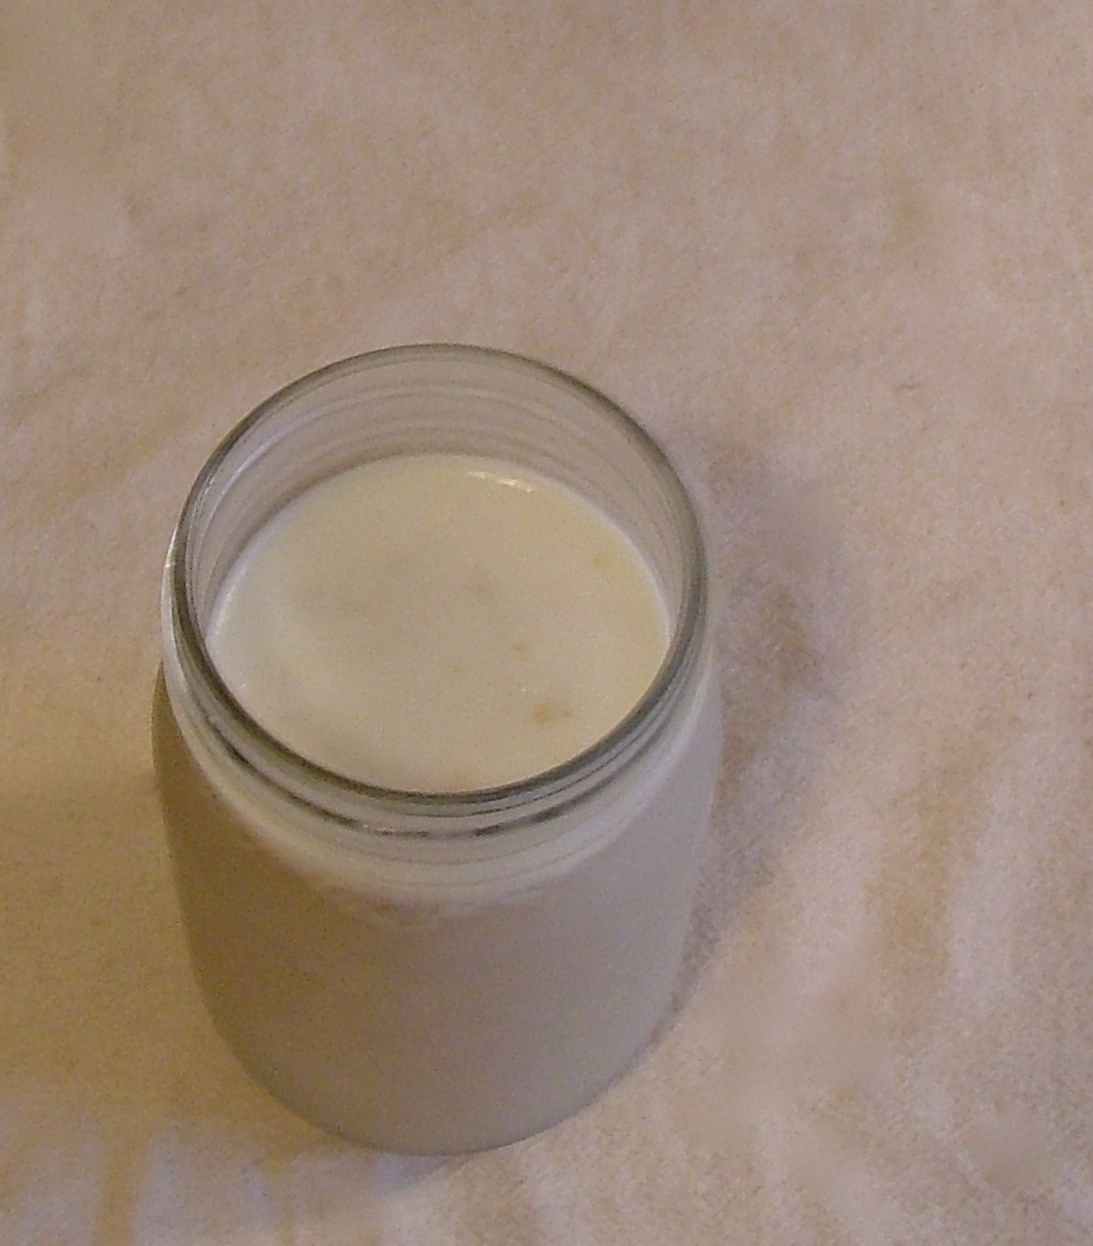
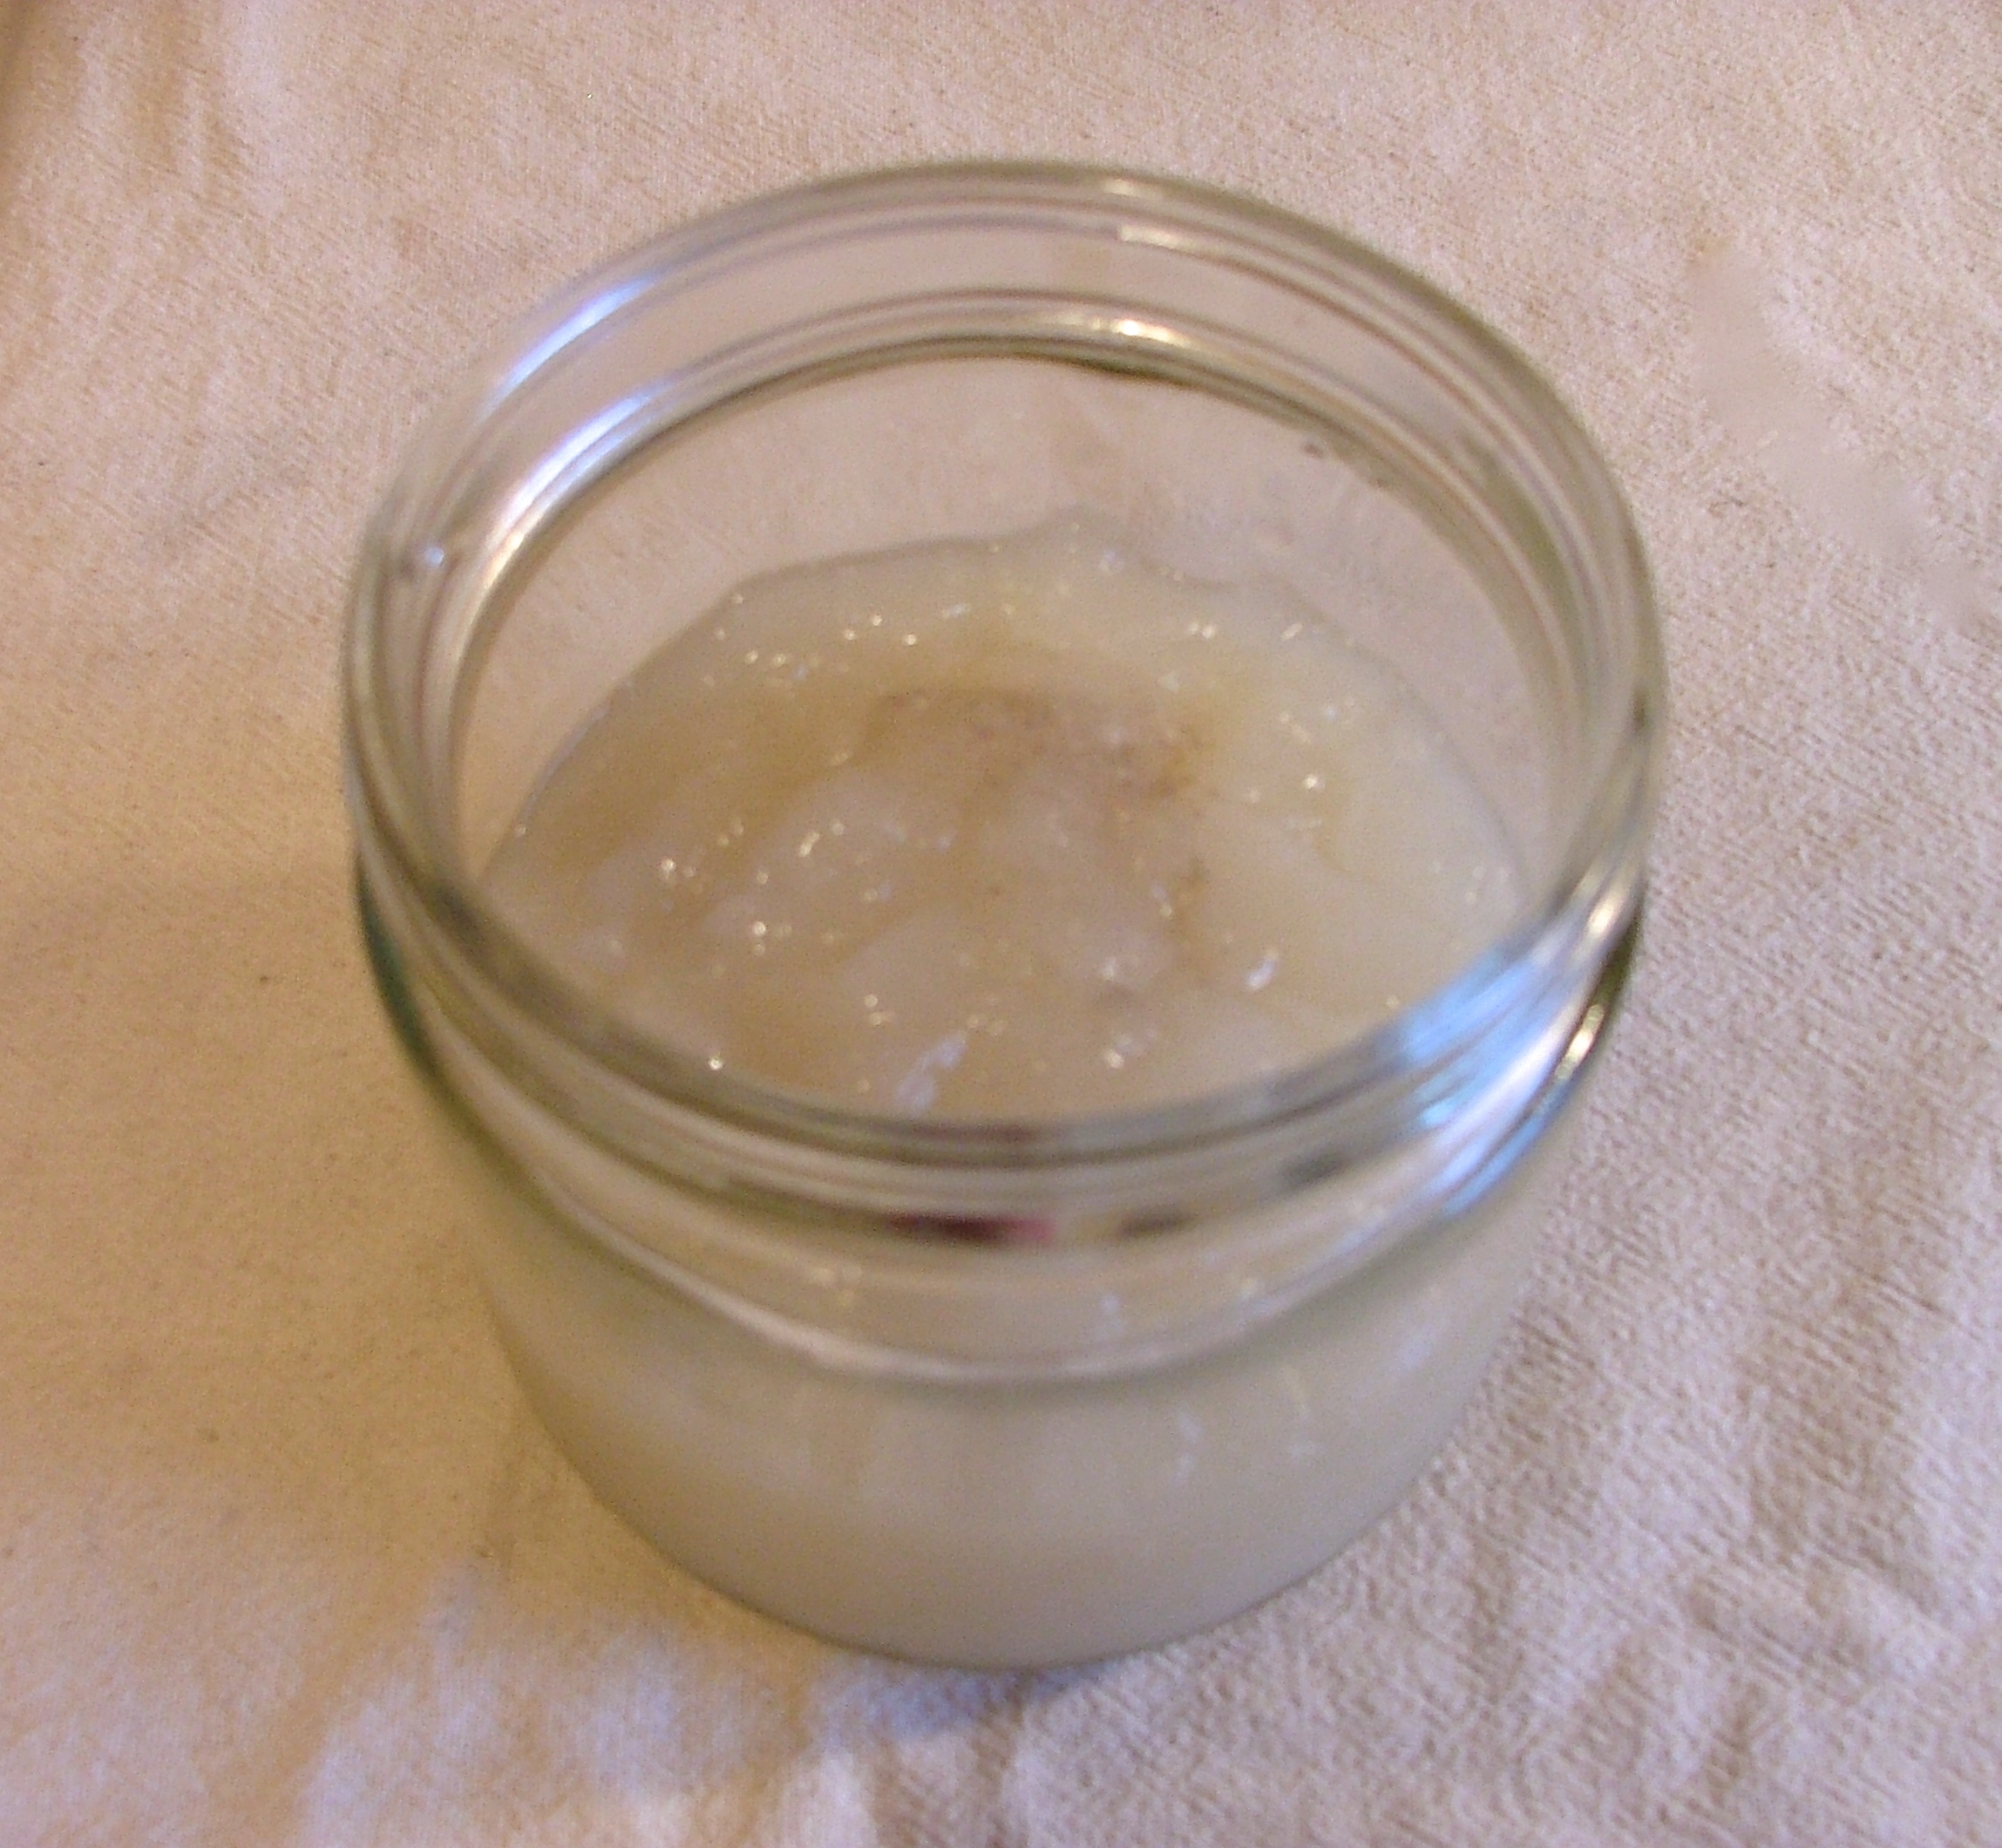
Use bones that have a lot of cartilage. Knuckle, neck and feet work well. If you’re intimidated, just ask your butcher for their recommendation. The right bones will produce the best results. When the broth has cooled in the fridge, it will form into a gelatin and jiggle like Jello.
HOW TO EAT IT
I scoop out a few tablespoons of the gelled broth into my favorite over-sized mug then add a cup of boiling water. Stir together and enjoy as I write in my journal each morning. I’ve even added broth to tea. It offers a comfort similar to snuggling under a cozy blanket by the fire. Writing that sentence, even sends a warm feeling to my heart. You can keep it for 5 days in refrigerator and after that it is best to freeze.
For a list of FAQs on Bone Broth, Whole 9 offers a fabulous explanation.
2 lbs of bones (I used beef knuckle and marrow bones)
1 tbsp Bragg’s Apple Cider Vinegar
8 cups water
►Preheat oven to 350 degrees
►Place bones in a large cast iron pot and cook in oven for twenty minutes. This browns the bones so the broth has a richer flavor.
►Move pot to the stove top. Add in water and apple cider vinegar.
►Bring to a simmer, cover and cook for 12 to 24 hours. As the water cooks down, add more water every six or so hours.
►As an alternative, you can cook the broth covered in an oven at 200 degrees. This works well overnight. Or if you really want to simplify it, use a crockpot.
►Pour into glass jars and refrigerate up to 5 days. Before use, skim off the fat on top and reserve it for cooking later.

